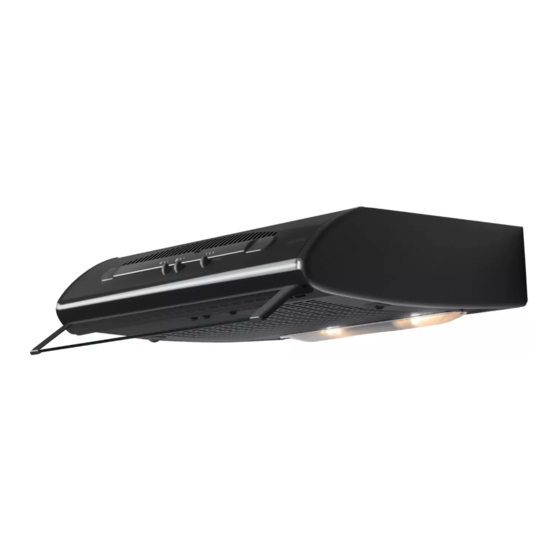
Electrolux DVK6010BR 사용 설명서 - 페이지 30
{카테고리_이름} Electrolux DVK6010BR에 대한 사용 설명서을 온라인으로 검색하거나 PDF를 다운로드하세요. Electrolux DVK6010BR 36 페이지.
Electrolux DVK6010BR에 대해서도 마찬가지입니다: 사용 설명서 (36 페이지)

3. INSTALLATION
3 - INSTALLATION
3.1 - Fitting the splashback
Before installing the hood it is possible to fit the splash-
back provided, if required.
• Mark the holes required to fix it to the wall, as shown
in fig. A.
• Drill the wall (2 holes Ø 5mm) and insert the wall
plugs.
• Fix the splashback to the wall using the two 3x35
screws (provided).
3.2 - Wall installation
The hood can be supplied with two different fixing kits:
a) screws, plugs and safety square.
b) screws, plugs and metal brackets.
1 - Fixing with screws
Using the cardboard template, mark and drill the holes
on the wall (2 holes Ø 8 mm see instructions on the
template), insert the plugs in the holes, tighten both
4,2 x 44,4 screws(supplied) leaving about 5 mm un-
screwed, hook the hood onto the screws (fig. 1) and
secure tightly from inside (fig. 2). Mount the safety
square (supplied) above the hood (fig. 3).
3.3 – Wall unit installation
Using the cardboard template, mark and drill the
bottom of the wall unit, (see instructions on the tem-
plate).
Fasten the hood from inside the unit using four screws
4,2 x 44,4 (supplied) (fig.7). For suction hoods, the
wall unit must be drilled to allow for the air discharge
duct. Filter hoods do not require this type of drilling
operation since the air is recycled into the room
through vents situated on the front of the hood.
GB
EN
A
2
1
3
7
19
30
