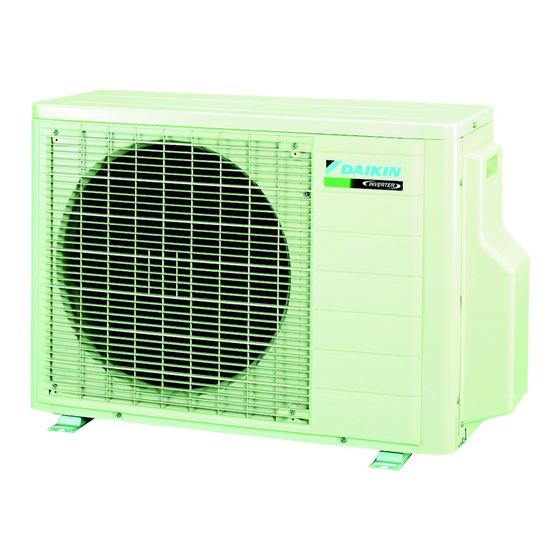
Daikin 2AMX40G3V1B 설치 매뉴얼 - 페이지 16
{카테고리_이름} Daikin 2AMX40G3V1B에 대한 설치 매뉴얼을 온라인으로 검색하거나 PDF를 다운로드하세요. Daikin 2AMX40G3V1B 20 페이지. Split series

Maximum Power Input Limitation Setting
WARNING
Always shut off the power supply breaker before starting.
• The Maximum Power Input Limitation needs to be set when the unit is installed.
• This function limits the power input of the unit to 1700W.
• It is recommended for locations with low-capacity circuit breakers.
CAUTION
This function is only for the 2MKS40 and 2MKS50.
• Set as follows.
1) Remove the two screws on the side and remove the top plate of the outdoor unit.
2) Remove one screw from the upper electric box cover.
3) Remove the upper electric box cover by sliding it, being careful not to bend the electric box hook.
4) Remove the lower electric box cover.
5) Cut the jumper (J4) of the PCB inside.
6) Go back through step 4) → 3) → 2) → 1). Make sure all components are well secured when doing this.
1) Remove the
two screws.
Fan motor lead wire
Hook
3) Remove the upper
electric box cover
from the hook.
CAUTION
• When removing the upper electric box cover, be careful not to bend the hook.
• When returning the lower electric box cover, return the notch to the stop valve side.
• When returning the upper electric box cover, be careful not to pinch the fan motor lead wire.
■English
Upper electric
box cover
Lower electric
box cover
Top plate
PCB
5) Cut jumper J4.
2) Remove the
one screw.
4) Remove the lower
electric box cover.
Notch
Electric box
PCB
12
