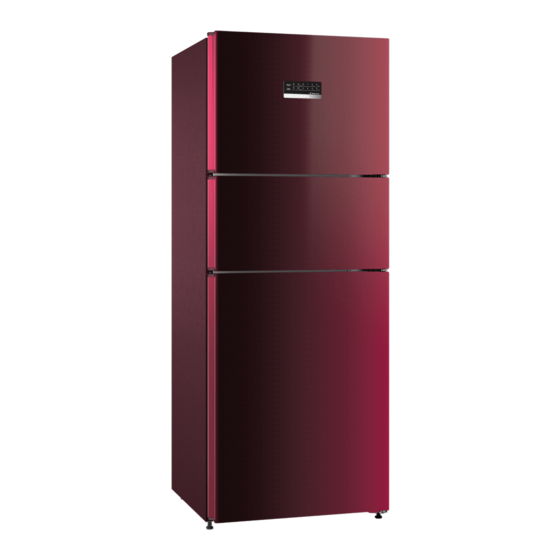
Bosch CMC36WT5NI 사용자 설명서 - 페이지 10
{카테고리_이름} Bosch CMC36WT5NI에 대한 사용자 설명서을 온라인으로 검색하거나 PDF를 다운로드하세요. Bosch CMC36WT5NI 32 페이지.

en Installation and connection
Installation and connection
4 Installation and con-
nection
Installation and connection
4.1 Scope of delivery
After unpacking all parts, check for
any transport damage and for com-
pleteness of delivery.
If you have any complaints, contact
your dealer or our after-sales service
→ Page 28.
The delivery consists of the following:
¡ Free-standing appliance
¡ Equipment and accessories
¡ Installation instructions
¡ User manual
¡ Customer service directory
¡ Warranty enclosure
¡ Energy label
¡ Information on energy consump-
tion and noises
4.2 Criteria for the installation
location
WARNING
Risk of explosion!
If the appliance is in a space that is
too small, a leak in the refrigeration
circuit may result in a flammable mix-
ture of gas and air.
Only install the appliance in a
▶
space with a volume of at least
3
1 m
per 8 g refrigerant. The
volume of refrigerant is indicated
on the rating plate. → "Appliance",
Fig.
/
, Page 13
5
1
The weight of the appliance ex works
may be up to 85 kg depending on
the model.
1
Depending on the appliance specifications
2
Not in all countries
10
1
2
The subfloor must be sufficiently
stable to bear the weight of the appli-
ance.
Permitted room temperature
The permitted room temperature de-
pends on the appliance's climate
class.
The climate class can be found on
the rating plate. → "Appliance", Fig.
/
, Page 13
5
1
Climate
Permitted room tem-
class
perature
SN
10 °C to 32 °C
N
16 °C to 32 °C
ST
16 °C to 38 °C
T
16 °C to 43 °C
The appliance is fully functional within
the permitted room temperature.
If an appliance with climate class SN
is operated at colder room temperat-
ures, the appliance will not be dam-
aged up to a room temperature of
5 °C.
4.3 Installing the appliance
Install the appliance in accordance
▶
with the enclosed installation in-
structions.
4.4 Preparing the appliance
for the first time
Remove the informative material.
1.
Remove the protective foil and
2.
transit bolts, e.g. remove the ad-
hesive strips and carton.
Clean the appliance for the first
3.
time. → Page 20
