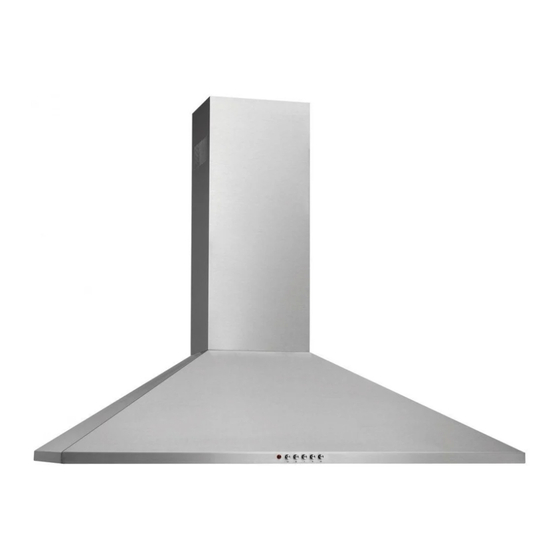
Electrolux FHWC3655LSA 사용 및 관리 매뉴얼 - 페이지 9
{카테고리_이름} Electrolux FHWC3655LSA에 대한 사용 및 관리 매뉴얼을 온라인으로 검색하거나 PDF를 다운로드하세요. Electrolux FHWC3655LSA 13 페이지. 30 and 36 free-standing range hood
Electrolux FHWC3655LSA에 대해서도 마찬가지입니다: 사용 및 관리 매뉴얼 (13 페이지), 사용 및 관리 매뉴얼 (13 페이지)

Electrical connections
DANGER
Danger of electric shock! All fittings must be
installed by a competent person in accordance
with current wiring regulations and local
building regulations. If in doubt, consult a
qualified electrician.
IMPORTANT
Always switch off the electricity supply at
the mains during installation, cleaning and
maintenance. We recommend that the fuse is
withdrawn or circuit breaker switched off at the
distribution board while work is in progress.
Step 4:
• Loosen the 2 short screws from the junction box
(fig.
) .
fig.
fig.
• Connect the incoming positive, neutral and
ground cables to the respective terminals. The
ground cable is already pre-assembled onto the
junction box to provide grounding (fig.
fig.
fig.
L (live) = Black
).
N (neutral) = White
(ground) = Green
L
N
Installing the hood
• Mount the junction box onto the range hood
using 2 short screws (13) (fig.
fig.
Step 5:
• Insert the upper chimney (2) into the lower chimney
(3) from top to bottom (fig.
• Mount lower chimney (2) on the range hood (1).
• Fit the tab, which is bend by 90 degrees, into the
lower bracket notch and mount to the lower bracket
(4) (fig.
/
).
• Fix it with 2 screws (12) (fig.
fig.
fig.
fig.
fig.
• Pull the upper chimney (2) to the upward position
to match the screw hole of the upper bracket.
Mount to the upper bracket (3) with 2 side screws
(10) (fig.
).
).
).
).
fig.
fig.
9
GB
