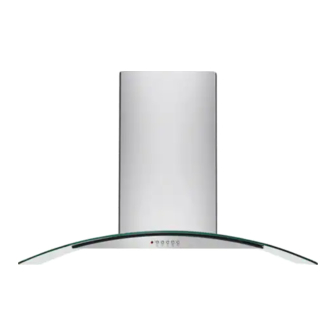
Electrolux FHWC3660LSA 사용 및 관리 매뉴얼 - 페이지 7
{카테고리_이름} Electrolux FHWC3660LSA에 대한 사용 및 관리 매뉴얼을 온라인으로 검색하거나 PDF를 다운로드하세요. Electrolux FHWC3660LSA 13 페이지. 30” and 36” range hood
Electrolux FHWC3660LSA에 대해서도 마찬가지입니다: 사용 및 관리 매뉴얼 (13 페이지)

• Flexible metal round ducts should only be used
when no other duct fitting exists. Limit use to
short lengths and do not crush when making
corners.
Examples of possible ducting or air
recirculation
fig.
Roof pitch with
Sidewall cap
flashing and cap
Pipe
Pipe
Collar
Collar
Installing range hood to the wall
(Exhaust operation)
IMPORTANT
This range hood is very heavy. Adequate structure
and support must be provided in all types of
installations.
Install framing for hood support
• If drywall is present, mark the screw hole
locations.
• Cut away enough drywall to expose 2 vertical
studs at the holes location indicated by the
template. Install two horizontal supports at least
1" x 6" between two wall studs at the bottom and
top mounting holes installation location (fig. ).
• The horizontal support must be flush with the
room side of the studs. Use cleats behind both
sides of the support to secure to wall studs.
• Reinstall drywall and refinish.
Recirculator
Pipe
Collar
Framing must be capable of supporting 100 lbs.
Step 1:
• Make sure that no cables or pipes will become
damaged (e.g. electric, gas, water; test the areas
in question with a cable detector).
• Using supplied template (17), mark and drill 8
holes in the wall. Drill the holes according to the
measured distances from the diagram (fig.
• Upper/Lower bracket (4, 5): Insert 4 wall plugs
(11) into the 4 drilled holes.
• Range hood (1): Installation is depending on wall
type:
Wall type
Wood
Brick/Concrete
Installing the hood
fig.
IMPORTANT
Required fasteners
No wall plugs (11)
required
4 wall plugs (11)
7
).
GB
