Bose FreeSpace DS 40SE 설치 매뉴얼 - 페이지 20
{카테고리_이름} Bose FreeSpace DS 40SE에 대한 설치 매뉴얼을 온라인으로 검색하거나 PDF를 다운로드하세요. Bose FreeSpace DS 40SE 35 페이지. With ceiling mount bracket
Bose FreeSpace DS 40SE에 대해서도 마찬가지입니다: 기술 데이터 시트 (8 페이지), 소유자 매뉴얼 (32 페이지), 소유자 매뉴얼 (20 페이지), 설치 매뉴얼 (22 페이지)
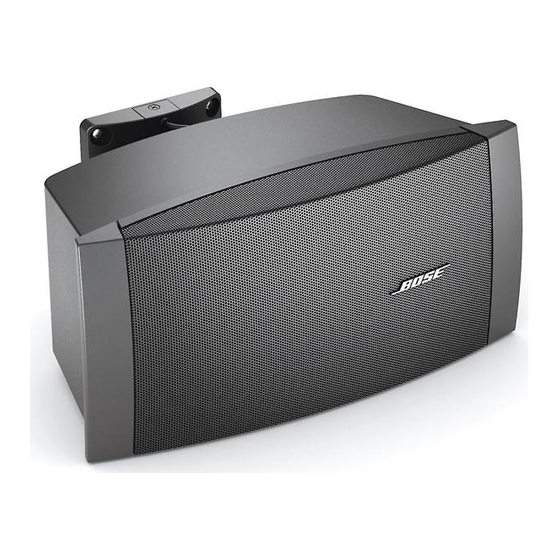
Mounting the Bracket
With Bose® In-Wall Junction Box
1.
Use cutting template and instructions included with theBose
In-Wall Junction Box.
2.
Cut hole.
3.
Insert junction box.
4.
Tighten junction box anchors.
5.
Attach bracket to junction box:
• Use M4 or #8 screws.
• Do not overtighten screws. If using a power drill, set to a
low torque setting.
Med Bose®-samlingsboks til montering i
vceggen
1.
Brug beskceringsskabelon og instruktioner, der fulgte med
Boses samlingsboks til montering i vreg.
2.
Klip hul.
3.
lscet samlingsboks.
4.
Stram ankre til samlingsboks.
5.
Scet beslag i vceg:
• Brug M4- eller nr. 8-skruer.
• Stram ikke skruerne for hardt. Ved brug af en elektrisk
boremaskine skal den indstilles til en lav momentindstilling.
Page 20
English
e
pro.Bose.com
e
Mit Bose® Unterputz-Verbindungsdose
1.
Verwenden Sie die Schnittschablone und die Anweisungen
,
die Sie mit der Bose Unterputz-Verbindungsdose erhalten
haben.
2.
Schneiden Sie ein Loch.
3.
Setzen Sie die Verbindungsdose ein.
4.
Ziehen Sie die Verankerungen der Verbindungsdose fest.
5.
Bringen Sie die Halterung an der Wand an:
• Verwenden Sie M4- oder #8-Schrauben.
• Ziehen Sie die Schrauben nicht zu fest
an.
Wenn Sie
einen Akkuschrauber verwenden, stellen Sie eine niedrige
Geschwindigkeit ein.
Con Ia caja de conexiones en Ia pared Bose®
1.
Utilice Ia instrucciones de recorte y las instrucciones incluidas
con Ia caja de conexiones en pared Bose.
2.
Recorte un agujero.
3.
lnserte Ia caja de conexiones.
4.
Ajuste los tacos de Ia caja de
conexiones.
5.
Fije el soporte a Ia pared:
• Utilice tornillos M4 o #8.
• No ajuste los tornillos en exceso. Si utiliza un destornillador
electrico,
ajustelo a un par de apriete bajo.
In
stallatio
n
and
Safety G
uidelines