Bose Panaray LT3202 III Mid/High 서비스 매뉴얼 - 페이지 18
{카테고리_이름} Bose Panaray LT3202 III Mid/High에 대한 서비스 매뉴얼을 온라인으로 검색하거나 PDF를 다운로드하세요. Bose Panaray LT3202 III Mid/High 27 페이지. Panaray lt series iii
Bose Panaray LT3202 III Mid/High에 대해서도 마찬가지입니다: 설치 매뉴얼 (32 페이지), 참조 매뉴얼 (40 페이지)
DISASSEMBLY PROCEDURES
CAUTION: The rear of the Panaray
loudspeakers can become extremely hot
during normal use. Do not attempt to service
the loudspeakers until they have cooled to
room temperature.
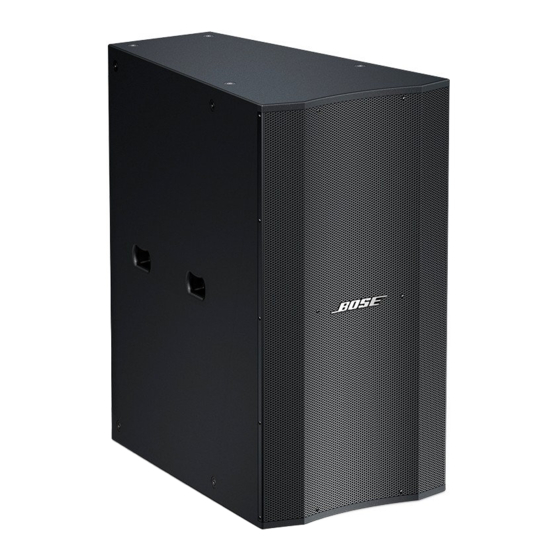
Model 3202
®
III Loudspeaker
Note: Refer to Figure 7 for the following
procedures.
1. Grille Removal
1.1 Remove the fourteen screws (2) that
secure the grille assembly (6) to the cabinet.
1.2 Lift the grille assembly off of the cabinet.
Retain the grille gasket (7) for re-use.
2. Logo Removal
2.1 Remove the grille using procedure 1
above.
2.2 On the back of the grille, carefully re-
move the slotted washer that retains the
spring and spacer against the back of the
grille. Note the direction the spacer faces.
Slide the spring and spacer off of the logo
post.
3. Compression Driver Removal
3.1 Remove the twelve screws (18) that
secure the rear panel (16) to the cabinet. Lift
off the rear panel. Retain the gasket (15) for
re-use.
3.2 Remove the four screws (13) that secure
the Compression Driver Mounting Plate (12)
to the cabinet. Lift the compression driver
(14) out of the cabinet. Make a note of the
wiring configuration, and disconnect the
wires from the compression driver.
3.3 Remove the four screws (11) that secure
the compression driver to the mounting plate.
Lift off the driver.
®
LT
4. VEE Two Assembly Removal
4.1 Remove the four screws that secure the
assembly to the cabinet. These screws are
located at the four corners of the VEE Two
assembly. Do not remove the other screws
around the casting. Carefully lift the assem-
bly out of the cabinet. Make a note of the
wiring configuration, and disconnect the two
wires from the connector.
5. Input Panel Assembly Removal
5.1 Remove the four screws that secure the
input panel assembly to the cabinet. Discon-
nect the cables that plug into the PCB. Lift
out the assembly.
Model 4402
Note: Refer to Figure 8 for the following
procedures.
1. Grille Removal
1.1 Remove the fourteen screws (3) that
secure the sides of the grille assembly (1) to
the cabinet. Remove the six screws (3) that
secure the grille assembly to the front of the
cabinet.
1.2 Lift the grille assembly off of the cabinet.
The gasket should remain adhered to the
cabinet.
2. Logo Removal
2.1 Remove the grille using procedure 1
above.
2.2 On the back of the grille, carefully re-
move the slotted washer that retains the
spring and spacer against the back of the
grille. Note the direction the spacer faces.
Slide the spring and spacer off of the logo
post.
2.3 Lift the logo off of the grille.
18
®
III Loudspeaker