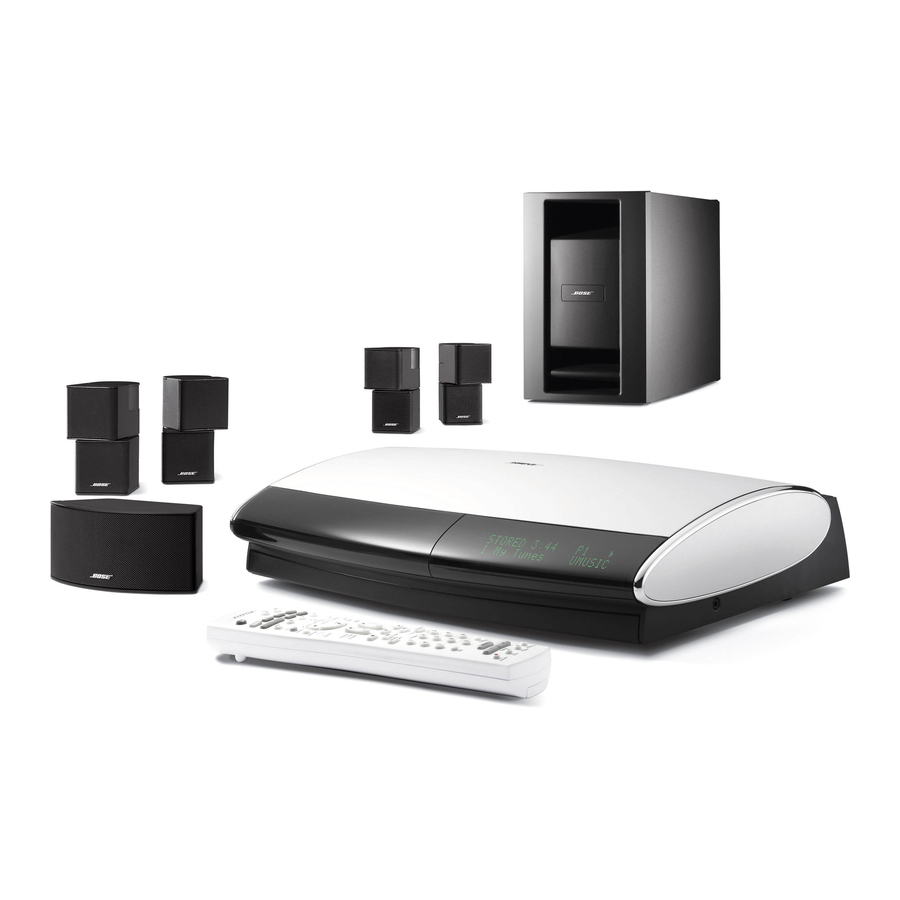
Setting Up Your
Lifestyle™powered
speaker system
CAUTION: Be sure all components
(Lifestyle music center or other source,
Acoustimass" speaker system, etc.) are
unplugged from the power (mains) out-
let before you begin hooking up the Life-
style powered speaker system.
1
Set up the speakers.
Place the LEFT and
RIGHT speakers in their respective locations
in your room You can put these compact
speakers in just about any room and location
where you would like high fidelity sound, such
as in a bookcase, on a desk, or in your
kitchen If you wish to place the speakers
near a lV, allow at least 9 inches (23cm) of
clearance between the speakers and the lV
screen, to prevent the speakers' magnets
from disturbing the lV picture Optional
Bose® ceiling-and wall-mount brackets offer
even greater placement versatility
2
Connect the speakers
to
each other.
Look at the supplied two-conductor speaker
wire, the striped or ribbed side is positive (+ ),
and the solid side is negative (-) These posi-
tive and negative conductors correspond
respectively to the positive (red) and negative
(black) terminals on the back ofthe speakers
As illustrated in Figure 1, connect the positive
and negative conductors at one end of the
speaker wire to the corresponding positive
and negative terminals on the LEFT speaker,
and connect the other end of the wire to the
RIGHT speaker To do so, simply push down
the tab at the bottom of each terminal, insert
the bare end of the appropriate conductor
into the hole, and release the tab to secure
the wire in place
Check your connections to make sure they
are wired positive to positive (+ to+ ) and
negative to negative (- to -) Incorrect wir-
ing will affect the stereo image Also,
check
to make sure that no strands of wire
from any terminal are brushing against
any other terminal. Such "bridged"
wires create short circuits that may dam-
age your Lifestyle powered speaker
system.
3
3
Connect the speakers
to
the music
source.
A. To the Lifestyle music center.
Insert the red and black plugs from the
LEFT speaker's input cable into the cor-
responding red and black jacks on one
end of the 50-foot (15-m) extension cable
Then, insert the red and black plugs at the
other end of the extension cable into the
red and black "SPEAKERS B" jacks on
the Lifestyle music center (Figure 2) (Your
Bose dealer can supply additional lengths
of extension cable, if necessary )
B. To a CD Player, cassette deck, or
other music source.
Insert the red and black plugs from the
LEFT speaker's input cable into the left
and right audio outputs of the music
source (Figure 3) If you wish to locate the
speakers further away from the music
source, use the supplied 50-foot extension
cable as follows
Insert the red and black plugs from the
powered (LEFT) speaker's input cable
into the corresponding red and black
jacks on one end of the 50-foot (15-m)
extension cable
2 Insert the red and black plugs on the
other end of the extensions cable,
respectively, into the RIGHT and LEFT
outputs of the source NOTE Portable
CD players often use a 3 5mm stereo-
headphone jack, instead of the RCA
jacks found on larger stereo compo-
nents If this is the case, you can use an
optional adaptor, available from your
Bose dealer
3
With the the volume control on the left
speaker turned all the way down
(counterclockwise), plug the power
(mains) cord from the left speaker
and other components into the
power (mains) outlet.
On models
equipped with a power switch, turn the
switch to the On position
4
Set the volume control to the two
o'clock position, turn on the
music, and enjoy!

