Bose Acoustimass 3 Series 매뉴얼 - 페이지 13
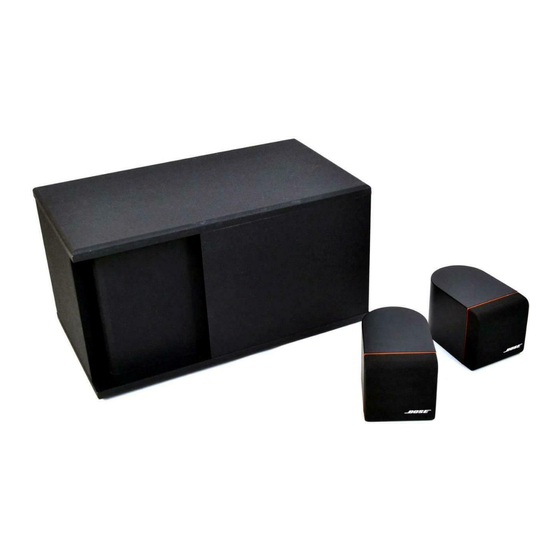
{카테고리_이름} Bose Acoustimass 3 Series에 대한 매뉴얼을 온라인으로 검색하거나 PDF를 다운로드하세요. Bose Acoustimass 3 Series 43 페이지. Powered speaker system
Bose Acoustimass 3 Series에 대해서도 마찬가지입니다: 소유자 매뉴얼 (17 페이지), 소유자 매뉴얼 (10 페이지), 서비스 매뉴얼 (42 페이지)
AM-3P II DISASSEMBLY/ASSEMBLY PROCEDURES
Bass Module
NOTE: Refer to Figures 6 and 7 (pages 29 and 30)
for an exploded view of the module. Numbers in
parentheses reference the individual parts displayed
in these Figures.
1. Cover Removal
A. Remove the cover cap (1) by using the flat
edge of a screwdriver or your fingers. Find the
recess on one side of the cap and lift the cap up
and away from the cover (3).
B. Remove the screw (2) located under the cover
cap.
C. Pull the 3 (friction fit) control knobs (4) directly
out from the module.
D. Stick your fingers into the control knob holes.
Swivel the cover carefully away from the Main
PCB connector panel (5) and pull it away from
the module.
2. Cover Replacement
A. Hook the cover (3) into place by slanting the
cover slightly forward (with connector panel
facing you) and aligning the appropriate holes
with the PCB connector panel.
B. Snap the cover into place.
C. Replace the 3 control knobs (4) by pushing
them in towards the module. The knobs are
keyed and will only fit one way.
D. Secure the cover to the module with 1 screw
(2).
E. Hook the cover cap (1) into place. The
notched edge must align with the module's label
side.
3. Main PCB Assembly Removal
A. Remove 3 screws (6) that secure the Main
PCB (5) to the adapter bracket (8).
IMPORTANT: The connector gasket (7) has a
light adhesive backing. Be careful not to tear it
during removal.
B. Pull the connector gasket carefully away from
the PCB connector panel.
C. Release the PCB from the 4 adapter bracket
snaps (not shown), one edge at a time.
D. Unplug the flat, 16-pin cable (13) connecting
the Main PCB to the Amplifier PCB (11).
E. Disconnect the 5-pin connector housing, J5,
(which is connected to the transformer
assembly's (18) primary side), by pulling the PCB
carefully up from the unit. Unhook the connector
housing from the slot on the adapter bracket (see
balloon view in Figure 6).
IMPORTANT: The J5 connector pins fit snugly
into the mating connector housing. Take care
when attempting to unhook this connector.
4. Main PCB Assembly Replacement
A. Hook the J5 connector housing into the slot on
the adapter bracket (8). See the balloon view in
Figure 6.
NOTE: Connector J5 has a unique keying feature
and can only be connected one way.
B. Lower the PCB (5), solder side up, into
position. The PCB's connector panel must align
with the module's label side. Make sure that the
pins on connector J5 line up with it's mating
connector housing (transformer primary wires).
13