Bose SOUNDDOCK PORTABLE DIGITAL MUSIC SYSTEM 소유자 매뉴얼 - 페이지 5

{카테고리_이름} Bose SOUNDDOCK PORTABLE DIGITAL MUSIC SYSTEM에 대한 소유자 매뉴얼을 온라인으로 검색하거나 PDF를 다운로드하세요. Bose SOUNDDOCK PORTABLE DIGITAL MUSIC SYSTEM 25 페이지. Car charger
Bose SOUNDDOCK PORTABLE DIGITAL MUSIC SYSTEM에 대해서도 마찬가지입니다: 소유자 매뉴얼 (13 페이지), 소유자 매뉴얼 (13 페이지), 빠른 설정 매뉴얼 (1 페이지), 소유자 매뉴얼 (26 페이지), 소유자 매뉴얼 (20 페이지), 소유자 매뉴얼 (33 페이지), 소유자 매뉴얼 (13 페이지), 소유자 매뉴얼 (18 페이지), (일본어) 사용 설명서 (3 페이지)
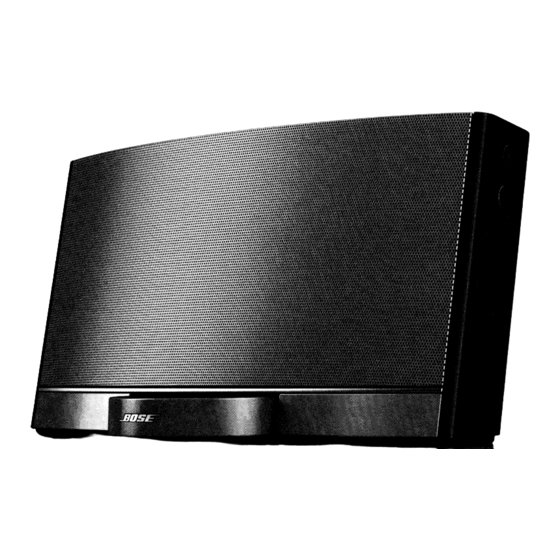
Bose SOUNDDOCK PORTABLE DIGITAL MUSIC SYSTEM 소유자 매뉴얼
USING
YOUR
NEW MUSIC
SYSTEM
Taking
advantage
of two power
sources
When your new SoundDock _ Portable system is plugged into an AC (mains) outlet, it charges both the system battery and
your iPod (playing or not). When your system is not plugged in, it draws from battery power.
CAUTION: Use this system only with the attached battery or a replacement battery from Bose.
IAttaching
the power
supply
There is no need to remove the SoundDock
Portable system battery when you attach the
AC power supply. The system automatically
draws from this power supply. To connect it:
1.
If there is more than one power plug
adapter in the carton, choose the one that
is proper for your area or country.
Do not use an adapter that is labeled for
use in another country.
IMPORTANT IN CHINA AND KOREA ONLY:
A clip for use in your country is labeled on the
outside of the small bag that contains it. Be
sure to use that adapter only.
2.
Attach the adapter to the power supply (A).
3.
Insert the free end of the power cable into
the connector on the SoundDock
system (B).
4.
Plug the power supply into an AC (mains)
power outlet (C)._
CAUTION: Use this system only with the
provided power supply or a replacement
_1_ power supply from Bose: PiN 301141
or PiN 306386.
A
One of these two power supplies is provided:
Proper adapter
for your area \
Proper adapter
for your area
B
DC Power
connector
D
Ball
Groove
AC (mains)
Taking the power
supply
along
The power supply is designed for packing up to go whenever you do. Before you leave:
• Wind the cable around the groove along the top (D).
• Move the small round ball as needed to fix the cable in place.
_You may notice a brief tone that confirms
power attachment
when you first plug in the system.
5