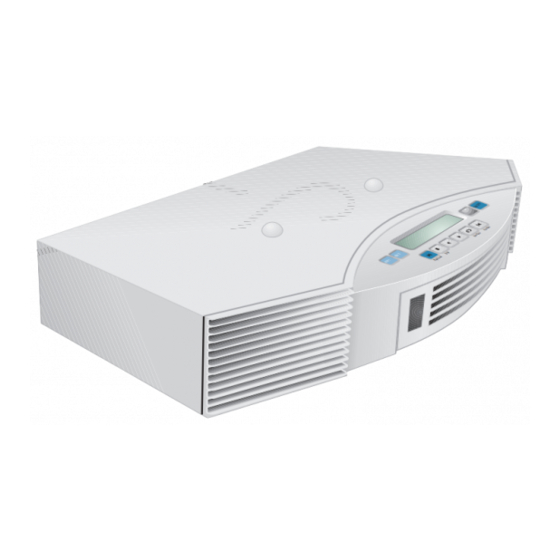
Bose Acoustic Wave CD3000 소유자 매뉴얼 - 페이지 6
{카테고리_이름} Bose Acoustic Wave CD3000에 대한 소유자 매뉴얼을 온라인으로 검색하거나 PDF를 다운로드하세요. Bose Acoustic Wave CD3000 19 페이지. Acoustic wave multi-disc changer owner's guide
Bose Acoustic Wave CD3000에 대해서도 마찬가지입니다: 소유자 매뉴얼 (22 페이지)

Setting Up
Connecting the multi-disc changer to your Acoustic Wave
Figure 3
Connecting the multi-disc
changer to the Acoustic
Wave
®
music system
Figure 4
Plugging in the power cord
6
On the back of the multi-disc changer there are two cables (Figure 3) that connect to your
Acoustic Wave
®
music system.
1. Insert the two connectors of the AUX input cable into AUX IN jacks on the back of the
Acoustic Wave
®
music system. Be sure to match the colors of the connectors and jacks:
red to red, and white to white.
2. Insert the plug of the AC power cable into the AC power receptacle on the back of the
®
Acoustic Wave
music system.
Power jack
AC power cable
Note: The changer comes supplied with a detachable power cord, similar to the one provided
with the Acoustic Wave
®
music system. You will need to use only one of these two supplied
power cords.
3. Plug the small end of the detachable power cord into the power jack on the back of the
changer (Figure 4).
CAUTION: If you will be connecting auxiliary components to the changer, refer to "Connect-
ing other sound sources" on page 13.
4. Plug the other end of the power cord into an AC (mains) wall outlet and your setup is
complete.
Note: When the multi-disc changer turns on after you plug it in, "PLEASE WAIT" flashes on its
display for a few seconds. When the flashing stops, you can load and play the changer.
®
music system
TM
AUX input cable
