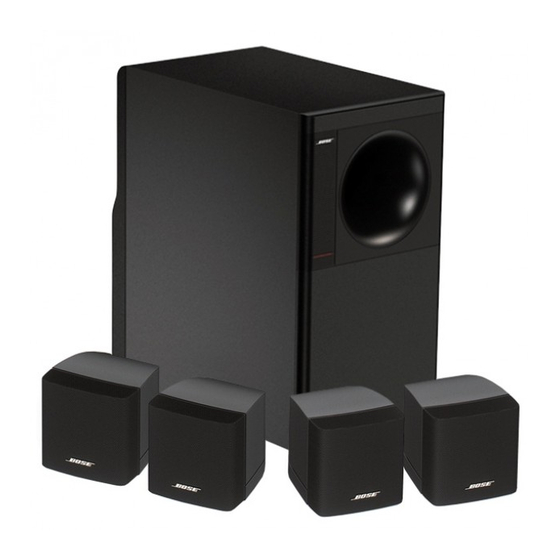
Bose FreeSpace 3 설치 관리자 매뉴얼 - 페이지 5
{카테고리_이름} Bose FreeSpace 3에 대한 설치 관리자 매뉴얼을 온라인으로 검색하거나 PDF를 다운로드하세요. Bose FreeSpace 3 15 페이지. Ceiling install kit
Bose FreeSpace 3에 대해서도 마찬가지입니다: 애플리케이션 노트 (2 페이지), 설치 매뉴얼 (12 페이지), 설치 매뉴얼 (13 페이지), 디자인 매뉴얼 (4 페이지), 디자인 매뉴얼 (4 페이지), 빠른 시작 매뉴얼 (2 페이지), 서비스 매뉴얼 (15 페이지)

2.2 Transformer tap setting or bypass
•
Lower Wattage: The transformer tap is set at the factory for
100W use. To set it for lower wattage, remove the end of the
+ jumper wire that is connected to 100W and reattach it to the
appropriate tap (50W, 25W, or 12W).
•
Mono Direct: To bypass the transformer and prepare the
loudspeaker for 4 use and mono sound input, remove only
the two transformer jumper wires. Leave the CH1 and CH2
input jumpers as they are.
•
Stereo Direct: To bypass the transformer and prepare the
loudspeaker for 4 use and stereo sound input, remove all
jumper wires.
Refer to page 7 for wiring details.
Note: Jumpers required
TRANSFORMER SETTINGS
for 70V/100V operation.
For transformer bypass,
remove jumpers from
transformer settings and
+
use 4-8
SAT 2
SATELLITE
CONNECTIONS
MONO
70V/100V
SAT 1
INPUT___
Refer to installation manual
PN254410 for proper installation
STEREO
CH 2
and operation instructions
MONO
STEREO
USE JUMPERS
CH 1
®
FreeSpace 3
Acoustimass Module
2.3 Direct (transformer bypass) use
•
Connecting a mono source with the transformer bypassed
Note: Jumpers required
TRANSFORMER SETTINGS
for 70V/100V operation.
For transformer bypass,
remove jumpers from
transformer settings and
+
use 4-8 input.
SAT 2
SATELLITE
CONNECTIONS
MONO
SAT 1
70V/100V
INPUT___
Refer to installation manual
PN254410 for proper installation
STEREO
CH 2
and operation instructions
MONO
STEREO
USE JUMPERS
CH 1
FreeSpace 3
®
Acoustimass Module
input.
SAT 4
SAT 3
SAT 2
SAT 1
4-8
INPUT
Connection jumpers
as factory installed
SAT 4
SAT 3
SAT 2
SAT 1
4-8
INPUT
Installation
5
