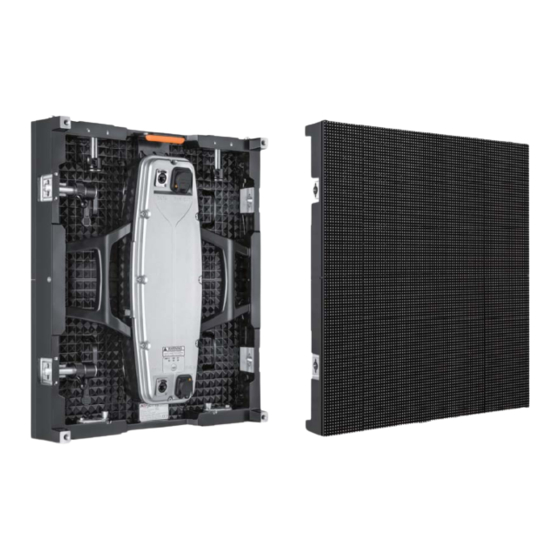
Absen X7 사용자 설명서 - 페이지 12
{카테고리_이름} Absen X7에 대한 사용자 설명서을 온라인으로 검색하거나 PDF를 다운로드하세요. Absen X7 18 페이지.

- 1. Table of Contents
- 1. Safety Information
- 2. Product Introduction
- 2. About X3/X5/X7
- 2. Product Dimensions
- 2. Product Specifications
- 2. Product Value Features
- 3. Product Components
- 4. Product Assembly
- 5. Cabinet Installation and Dissassembly
- 5. Rigging Bar Installation
- 5. Cabinet Mounting
- 6. Product Wiring
- 6. Power Cord Cabling Instructions
• Arc Assembly: Place the other rigging bar from top to bottom through M5 shaft, adjust left and right rigging
bar scale to -10˚/-5˚/5˚/10˚ angles, tighten M8 locking screw.
Cabinet Mounting
Cabinet and Rigging Bar Installation
• You can install the screen cabinet unit after the rigging bar is installed. First, lift up the spring pin,
and ensure the round hole on the locking plate is aligned with the through hole on the locking plate.
(As shown below)
Step 1: Lift up the spring pin
- 11 -
Step 1: Through M5 shaft
Arc assembly is completed
Plane assembly is completed
Step 2: Align to -10˚ on the scale
Step 3:Tighten M8 locking screw
Step 2: Move the locking plate, align the
cross holes on rigging bar with
the locking plate round hole
Leading
LED
Applications
User Manual
X3/X5/X7
