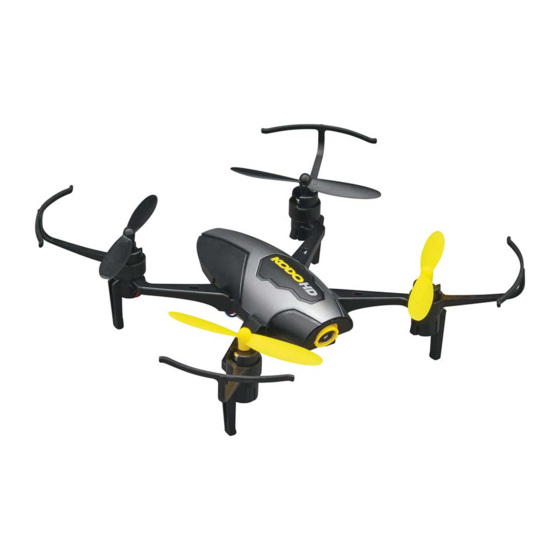
Dromida kodo hd 사용자 설명서 - 페이지 2
{카테고리_이름} Dromida kodo hd에 대한 사용자 설명서을 온라인으로 검색하거나 PDF를 다운로드하세요. Dromida kodo hd 4 페이지.

HOW to FLY
D
B
D
Basic Flight
Advance the throttle slowly until your Kodo HD rises into the air.
The controls are very sensitive and small stick movements should be used to the
control the quadcopter. If you get into trouble and see that the Kodo HD is going to
crash, move the throttle to its lowest position immediately.
The LED on the Kodo HD will flash slowly when the battery voltage is getting
low. Land as soon as possible and unplug the battery. Always recharge the
battery or batteries before storing the Kodo HD.
Flips
Push down on the right stick and release it when the controller beeps.
Move the right stick in any direction and release it when the Kodo starts to flip.
The red LED on the Kodo HD will flash when the battery voltage is getting low. Land
as soon as possible and charge the battery. The battery must be charged before
it is stored. The battery must not be connected to the Kodo HD or the charger
when stored.
B
A
C
A
E
CORRECTING DRIFT
It is normal for the KODO to drift slightly. However, if it drifts in any direction
consistently, press the trim button that is opposite the movement as many times
as needed to eliminate the drift.
C
Use Left Trim
CAMERA OPERATION
Photo Button
The video button must be pressed again to stop and save the video on the card.
The photo button will not operate while the camera is recording a video.
Only insert and remove the memory card when the battery is not connected to the
Kodo HD. When the memory card is installed, there will be a steady blue LED just
above the card slot.
The camera lens angle can be adjusted from straight ahead to 70 degrees down.
To view the photos or videos, remove the memory card and install it in the card
reader. Install the card reader in a USB port on your computer
BLADE GUARD REPLACEMENT
Video Button
Press the photo button to capture a
photo.
Press the video button to start a video.
1. Carefully pry off the blade using a flat
head screwdriver. NOTE: Do one corner
at a time so you don't accidentally mix
up the blades.
2. Pull blade guard up
and off the motor
housing. Install
the new guard
and replace the
rotor blade.
