3M 725 사용자 설명서 - 페이지 9
{카테고리_이름} 3M 725에 대한 사용자 설명서을 온라인으로 검색하거나 PDF를 다운로드하세요. 3M 725 16 페이지. Wrist strap monitor
3M 725에 대해서도 마찬가지입니다: 사용 설명서 (15 페이지)
SECTION 4
Installation Under Work Bench
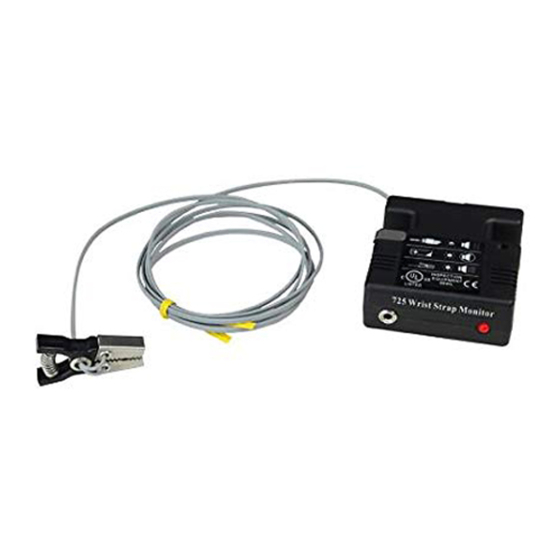
The 3M
Wrist Strap Monitor Model
™
725 can be mounted under a work bench
by securing with two #8 screws (not
supplied) through the mounting hole
tabs located on the top cover.
When mounting the Wrist Strap Monitor
Model 725 under a work bench for non
mobile use, remove the parking clip
(Section 6) from the Wrist Strap Monitor
Model 725 using a small screwdriver.
The Wrist Strap Monitor Model 725 is
now ready to mount.
Position the monitor so that it is
convenient for the operator to plug
their wrist strap ground cord into the
jack on the front of the monitor. It is
recommended that the front face of the monitor be flush or slightly recessed
from the front edge of the work bench. Attach the monitor to the work bench
with the screws. It may be necessary to pre-drill pilot holes for the screws.
Attach the dual conductor ground clip or each wire of the monitor's dual
conductor ground cord to a suitable ground.
Use of an optional 3M
of the monitor's input jack. The user disconnects the wrist strap ground cord
from the wrist band and plugs into the Stand-By Jack 3057 which is mounted at
the work station. Plugging into the Stand-By Jack 3057 prevents the Wrist Strap
Monitor Model 725 from continuously alarming when disconnected from the
wrist band.
The system is now ready for use.
Stand-By Jack 3057 at the work station extends the life
™
Figure 4
Note: Use of the monitor in this way precludes
grounding a work surface through the snap
connector on the bottom of the monitor. A static
control work surface, if present, would require
grounding separately through an additional
ground cord.
8