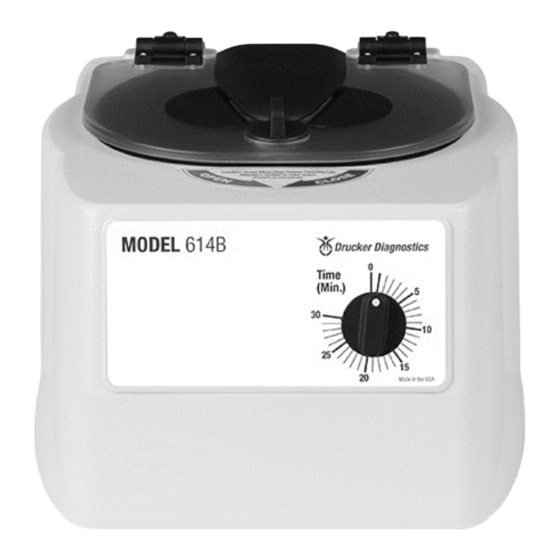
Drucker Diagnostics 614B 운영자 매뉴얼 - 페이지 9
{카테고리_이름} Drucker Diagnostics 614B에 대한 운영자 매뉴얼을 온라인으로 검색하거나 PDF를 다운로드하세요. Drucker Diagnostics 614B 16 페이지.

O
PERATION
NOTE: Follow the initial setup procedure on page 4 before initial operation.
1. Plug the centrifuge into an approved 115 Volt A.C., 60 Hz. outlet.
2. Turn the latch counterclockwise and open the lid.
3. Insert cushions (if needed) into the tube holders for the tube size
you are using.
4. Place the test tube samples into the tube holders. Be sure to
follow the rules for balanced loads (page 5).
5. Close the lid and turn the lid knob clockwise to its complete stop
position.
6. Turn on the machine by turning the timer to the desired run
time. The centrifuge should begin to spin.
7. Once the timer reaches zero (0), power will be cut to the motor
and the rotor will coast to a stop. Do not open the lid until the
rotor has come to a complete stop.
8. Turn the lid knob counterclockwise and open the lid.
9. Remove the samples.
10. The centrifuge is immediately ready for operation..
S
B
PINNING
Your centrifuge must contain a balanced load in order to work properly.
Use the following rules when loading the rotor.
Spinning balanced loads will extend the life of the machine and produce
better results.
1. Opposing tube holders must be identical and must contain the
same cushion, or none at all.
2. Opposing tube holders must be empty or loaded with equally
weighted samples.
3. If an odd number of samples is to be spun, fill a tube with water
to match the weight of the unpaired sample and place it across
from this sample.
Page | 5 Drucker Diagnostics +1-814-692-7661 - [email protected]
L
ALANCED
OADS
