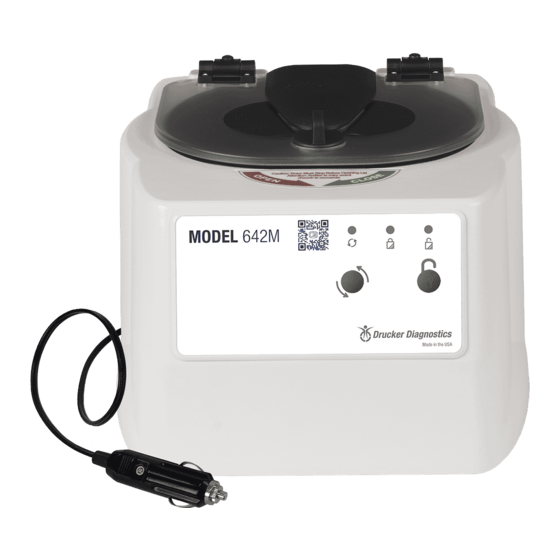
Drucker Diagnostics 642M 서비스 매뉴얼 - 페이지 7
{카테고리_이름} Drucker Diagnostics 642M에 대한 서비스 매뉴얼을 온라인으로 검색하거나 PDF를 다운로드하세요. Drucker Diagnostics 642M 10 페이지.
Drucker Diagnostics 642M에 대해서도 마찬가지입니다: 운영자 매뉴얼 (20 페이지)

6.9. Removing the motor
•
Remove the cabinet assembly as previously described.
•
Flip the base assembly up‐side down and remove the six screws that hold the
guard bowl
•
Lift the base assembly off the guard bowl and set it aside
•
Cut the motor wires at the crimp connectors (where the motor connects to the
wire harness 02-006-1-0050).
•
Flip the guard bowl.
•
The motor is held in place with four #8 Nylok nuts. Remove them with an 11/32"
nut driver.
•
Slide the motor out of the guard bowl's motor well.
6.10. Replacing the motor
•
Flip the guard bowl upside down and locate the notch on the bottom.
•
Install the motor into the guard bowl with the wires facing in the same direction as
the notch.
•
Holding the motor in place, flip the bowl on its side and drive 4 #8 Nylok nuts onto
the motor studs with an 11/32" nut driver.
•
Turn the guard bowl assembly upside down and position the bowl so the notch is in
an 8 o'clock position.
•
Place the base assembly onto the guard bowl – make sure the orientation of the
motor wires is the same as the image below.
•
Make certain that the motor wires are in the notch, and that no wires are pinched
between the guard bowl and base.
•
Fasten the guard bowl to the base with the six screws and connect the wires as
shown in the wiring diagram.
DRUCKER DIAGNOSTICS
642M SERVICE MANUAL
SM023
REV C
7
