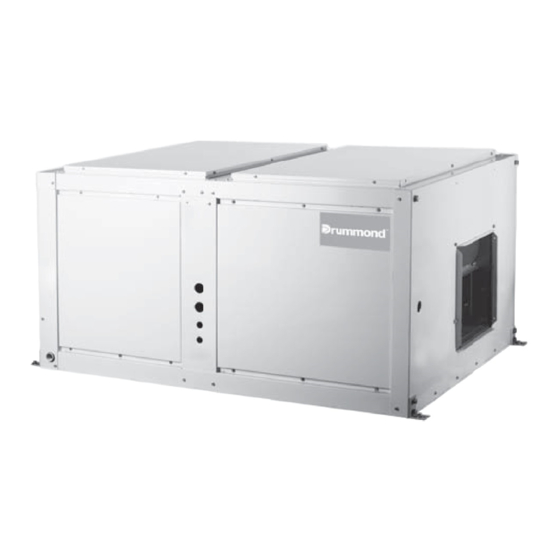
Drummond MOV-90CN1-D 설치 매뉴얼 - 페이지 10
{카테고리_이름} Drummond MOV-90CN1-D에 대한 설치 매뉴얼을 온라인으로 검색하거나 PDF를 다운로드하세요. Drummond MOV-90CN1-D 16 페이지. Split system cooling only, r-410a refrigerant
Drummond MOV-90CN1-D에 대해서도 마찬가지입니다: 소유자 매뉴얼 (11 페이지)

6.3 PRECAUTIONS DURING BRAZING SERVICE VALVE
Precautions should be taken to prevent heat damage to service valve
by wrapping a wet rag around it as shown in Fig. 6.
Also, protect all painted surfaces, insulation, during brazing. After
brazing cool joint with wet rag.
Valve can be opened by removing the plunger cap and fully inserting
a hex wrench into the stem and backing out counter-clockwise until
valve stem just touches the chamfered retaining wall.
Connect the refrigerant lines using the following procedure:
1. Remove the cap and Schrader core from both the liquid
and vapor service valve service ports at the outdoor
unit. Connect Iow pressure nitrogen to the liquid line
service port.
2. Braze the liquid line to the liquid valve at the outdoor unit. Be sure to
wrap the valve body with a wet rag. Allow the nitrogen to continue
flowing. Refer to the Tabular Data Sheet for proper liquid line sizing.
3. Carefully remove the rubber plugs from the evaporator liquid and vapor
connections at the indoor coil.
4. Braze the liquid line to the evaporator liquid connection. Nitrogen
should be flowing through the evaporator coil.
5. Slide the plastic cap away from the vapor connection at the indoor coil.
Braze the vapor line to the evaporator vapor connection. Refer to the
Table 1 for proper vapor line sizing.
6. Protect the vapor valve with a wet rag and braze the vapor line connection
to the outdoor unit. The nitrogen flow should be exiting the system from
the vapor service port connection. After this connection has cooled,
remove the nitrogen source from the liquid fitting service port.
7. Replace the Schrader core in the liquid and vapor valves.
8. Leak test all refrigerant piping connections including the service port
flare caps to be sure they are leak tight. DO NOT OVER TIGHTEN
(between 40 and 60 inch -lbs. maximum).
9. Evacuate the vapor line, evaporator and the liquid line, to 500 microns
or less.
NOTE
1. Tube diameters are for lengths up to 50 equivalent ft and/or 20 ft
vertical differential.
2. Do not increase or decrease tubing sizes.
NOTE
Line set and indoor coil can be pressurized, to 250 psig with dry
nitrogen and leak tested with a bubble type leak detector. Than
release the nitrogen charge. Do not use the system refrigerant in
the outdoor unit to purge or leak test.
10. Replace cap on service ports. Do not remove the flare caps from
the service ports except when necessary for servicing the system.
Do not connect manifold gauges unless trouble is suspected.
Approximately 3/4 ounce of refrigerant will be lost each time a
standard manifold gauge is connected.
11. Release the refrigerant charge into the system. Open both the
liquid
and vapor valves by removing the plunger cap and with an hex
wrench back out counter-clockwise until valve stem just touches the
chamfered retaining wall.
12. Replace plunger cap finger tight, then tighten an additional 1/12
turn (1/2 hex flat). Cap must be replaced to prevent leaks.
Never attempt to repair any brazed connections while the system is
under pressure. Personal injury could result.
See "System Charge" section for checking and recording system
charge.
6.4 Expelling Air
From the following table, select a method of expelling air.
Fig.6-1
Length of connective pipe
(single pass)
Less than 5m
If the air conditioner is relocated, be sure to use a vacuum pump
or refrigerant tank to expel air.
Use the refrigerant in the outdoor unit to expel air(see Fig.6-
2and Fig.6-3)
Screw up the pipe nuts at A, B, C and D completely.
Loosen and remove the square-head cover of valves A and B,
rotate the square-head spool of valve B counterclockwise for 45
degrees and stay for about 10 seconds, and then close the
spool of valve B tightly.
Detect leak for all adapters at A, B, C and D. After making sure
that no leak exists, open the maintenance orifice nut of valve A.
After all air is expelled, tighten the maintenance orifice nut of
valve A.
Open the spools of valves A and B completely.
Tighten the square-head cover of valves A and B completely.
Outdoor unit
CAUTION
WARNING
Procedure of expelling air
Use refrigerant in the outdoor unit
Use vacuum pump or refrigerant
5~15m
tank.
Air side
A
B
Liquid side
Stop valve
Table.6-2
Intdoor unit
C
D
pipe adapter
Fig.6-2
Installation Manual
9
