Dry-Lam 27" 사용 설명서 - 페이지 9
{카테고리_이름} Dry-Lam 27"에 대한 사용 설명서을 온라인으로 검색하거나 PDF를 다운로드하세요. Dry-Lam 27" 15 페이지. School & office laminators

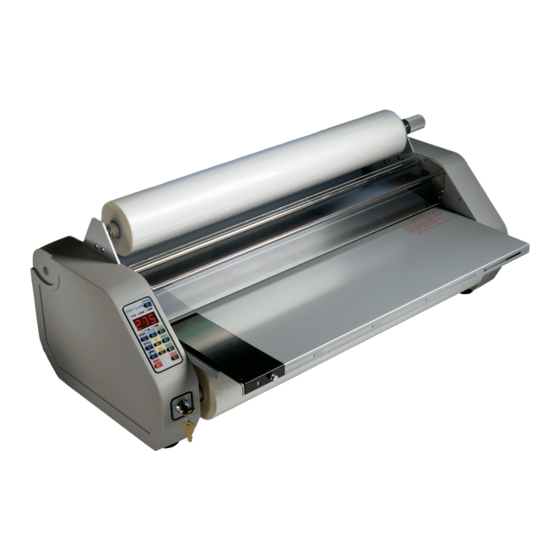
D. Laminating
After the machine is loaded with film (see B.
Loading Film: 1" Mandrel) and threaded (see
C. Threading the Film), it is ready to laminate.
Ensure that the laminator has reached the
preset temperature. This will be indicated by
the ready light being illuminated. Place
document on the feedtable and align with the
feedguide to assure straight and even
lamination. Start the motor with the "Start"
button and adjust the speed as necessary. If
necessary, adjust the supply roll tension (see
E. Supply Roll Tension Adjustment). With
both hands, guide the document into the throat of the laminator. While the document is pulled into
the laminating rollers, keep document flat on the feedtable while applying a slight back pressure.
As the document exits the rear rollers, allow 3" to 6" of film to clear the rollers at the end of your
document and turn the motor switch to stop. Using the hand held cutter, hold tension on the
laminated document and slice through the film to release the document. Multiple documents can
be run successively if desired and cut at a later time.
E. Supply Roll Tension Adjustment (A)
Top and bottom supply rolls should have about the same tension. By turning the top roll with one
hand, and the bottom roll with the other hand, it can be determined if one of the rolls is tighter than
the other.
Note: Too much tension can destroy film, documents, and damage the machine.
Adjust the tension to the minimum amount
required. Do this by loosening the tension
knobs until there is no tension on the film. With
the machine threaded and at operating
temperature, turn the motor switch to forward
and adjust the speed to the desired operating
speed. Tighten the adjusting knobs only until
the wrinkles in the film as it crosses the
heatshoe are removed.
15
temperature set point. This is the temperature that the machine will reach and hold. The temperature
can be increased or decreased in 1° increments by pressing and releasing the up or down button.
To rapidly increase or decrease the temperature, press and hold the button. When the machine
reaches the set point temperature, the Ready light (green) will illuminate, and a two second beep
will sound. If a significant change in the set point temperature occurs, the Wait light (red) illuminates
until the laminator reaches the new set point temperature. At this time the Ready light will illuminate
again. Note: depending on room conditions and desired set point, it will take between 20 and 30
minutes for the ready indicator to come on.
Standard Presets (H)
The Laminator is equipped with 2 factory presets. The buttons are labeled 275 and 225. These
buttons will set both a speed and temperature that being (275°F and 3 Feet per minute) and (225°F
and 3 feet per minute). If one of the presets is engaged, it's corresponding LED will be illuminated.
Motor (I,J,K,L)
The motor controls are the 4 buttons on the right side of the control panel. The "Start" button will
start the motor which will run at the current speed setting. The "Speed Up" and "Speed Down"
buttons will adjust the speed setting. Pressing and releasing the button once will increment the speed
by 0.1 ft/min (0.1 meters/min). To rapidly increase or decrease the speed, press and hold the
corresponding button. To stop the motor, press and release the "Stop/Reverse" button. To reverse
the machine, press and hold the "Stop/Reverse" button. The motor will remain in reverse as long
as the button is depressed.
User Preset (M)
The Laminator is equipped with a user defined "Preset" button. This button can be used to save
a speed and temperature setting that you have defined. With the machine's speed and temperature
set to your preferred settings, press and hold the "Preset" button until the beeper sounds and the
preset light comes on. To recall this setting at a later time, press and release the "Preset" button.
Usage Counter (N)
The Laminator is equipped with a usage counter that will indicate the feet (meters) of film used.
This counter will appear on the display whenever the feet indicator light is on. This counter can
be reset to zero by pressing the "Count Reset" button once the display is showing the usage counter.
Additional Features
Keyswitch
The keyswitch (located just below the control panel) locks out the motor, allowing the machine
to remain heated; yet, preventing unauthorized usage when in the locked position.
7
4
