Daikin R32 Split Series 설치 매뉴얼 - 페이지 8

{카테고리_이름} Daikin R32 Split Series에 대한 설치 매뉴얼을 온라인으로 검색하거나 PDF를 다운로드하세요. Daikin R32 Split Series 16 페이지. R32 split series
Daikin R32 Split Series에 대해서도 마찬가지입니다: 설치 매뉴얼 (17 페이지), 설치 매뉴얼 (16 페이지), 설치 매뉴얼 (16 페이지), 설치 매뉴얼 (17 페이지), 설치 매뉴얼 (16 페이지), 설치 매뉴얼 (20 페이지), 설치 매뉴얼 (14 페이지), 설치 매뉴얼 (14 페이지), 운영 매뉴얼 (16 페이지), 운영 매뉴얼 (16 페이지), 운영 매뉴얼 (8 페이지), 설치 매뉴얼 (17 페이지), 설치 매뉴얼 (16 페이지), 설치 매뉴얼 (20 페이지), 설치 매뉴얼 (20 페이지), 설치 매뉴얼 (16 페이지), 설치 매뉴얼 (16 페이지), 설치 매뉴얼 (14 페이지), 설치 매뉴얼 (14 페이지), 설치 매뉴얼 (16 페이지), 설치 매뉴얼 (17 페이지), 설치 매뉴얼 (20 페이지), 설치 매뉴얼 (13 페이지)
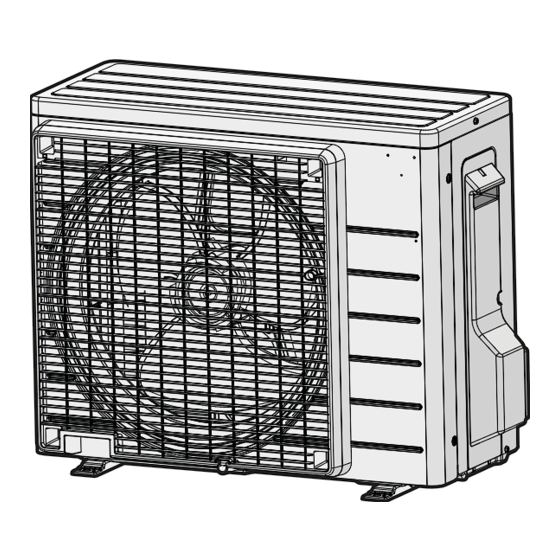
Daikin R32 Split Series 설치 매뉴얼
4 Installation
Prepare 4 sets of M8 or M10 anchor bolts, nuts and washers (field
supply).
(mm)
In heavy snowfall areas, it is recommended to provide at least
300  mm of free space below the unit. For other areas, it is
recommended to provide at least 150  mm of free space below the
unit.
In any case, make sure the unit is positioned at least 100 mm above
the maximum expected level of snow. If necessary, construct a
pedestal.
4.1.2

To install the outdoor unit

4.1.3

To provide drainage

NOTICE
If the unit is installed in a cold climate, take adequate
measures so that the evacuated condensate CANNOT
freeze.
INFORMATION
For information on the available options, contact your
dealer.
Installation manual
8
4× M8/M10
4.2

Connecting the refrigerant piping

DANGER: RISK OF BURNING
CAUTION
▪ No brazing or welding on site for units with R32
refrigerant charge during shipment.
▪ During installation of the refrigeration system, joining of
parts with at least one part charged shall be performed
taking into account the following requirements:
ð inside occupied spaces non permanent joints are not
allowed for R32 refrigerant except for site made joints
directly connecting the indoor unit to piping. Site made
joints directly connecting piping to indoor units shall
be of non permanent type.
4.2.1
To connect the refrigerant piping to the
outdoor unit
▪ Piping length. Keep field piping as short as possible.
▪ Piping protection. Protect the field piping against physical
damage.
WARNING
Connect the refrigerant piping securely before running the
compressor. If the refrigerant piping is NOT connected and
the stop valve is open when the compressor is run, air will
be sucked in. This will cause abnormal pressure in the
refrigeration cycle, which may result in equipment damage
and even injury.
CAUTION
▪ Use the flare nut fixed to the unit.
▪ To prevent gas leakage, apply refrigeration oil only to
the inside of the flare. Use refrigeration oil for R32.
▪ Do NOT reuse joints.
1 Connect the liquid refrigerant connection from the indoor unit to
the liquid stop valve of the outdoor unit.
a
c
b
a
Liquid stop valve
b
Gas stop valve
c
Service port
2 Connect the gas refrigerant connection from the indoor unit to
the gas stop valve of the outdoor unit.
NOTICE
It is recommended that the refrigerant piping between
indoor and outdoor unit is installed in a ducting or the
refrigerant piping is wrapped with finishing tape.
4.3

Checking the refrigerant piping

4.3.1

To check for leaks

NOTICE
Do NOT exceed the unit's maximum working pressure (see
"PS High" on the unit name plate).
RXTM30+40N2V1B + RXTP25+35N2V1B9 + ARXTP25+35N2V1B +
RXTA30N2V1B
R32 split series
3P482320-10M – 2019.04