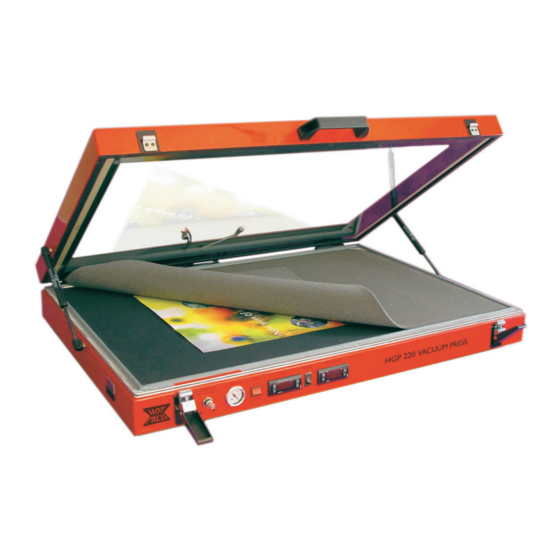
Drytac HOT PRESS HGP260 사용자 설명서 - 페이지 15
{카테고리_이름} Drytac HOT PRESS HGP260에 대한 사용자 설명서을 온라인으로 검색하거나 PDF를 다운로드하세요. Drytac HOT PRESS HGP260 19 페이지. Heated glass top vacuum press
Drytac HOT PRESS HGP260에 대해서도 마찬가지입니다: 운영자 매뉴얼 (19 페이지)

HOT PRESS USERS MANUAL
V
T
ACUUM
ROUBLESHOOTING
The vacuum gauge should indicate approximately 25" of
mercury during normal operation. If the reading is too low, or
the press takes a long time to "pull a vacuum", check for one
or more of the following common problems:
1. Foam or other materials trapped in the seal: It is very
easy for the foam overlay blanket to become misplaced and
inadvertently become trapped in the seal. This will allow air
to leak in, preventing a good vacuum from forming. Foam
used in the press will tend to expand over time. As this
happens, you should lay it on the bench and trim a strip off
each edge. Also check for paper, canvas or other materials
that may be stuck to the lid and interfering with the seal.
2. Press is not level: If all four corners of the press are not
level, it may be diffi cult to achieve a proper vacuum. Use
a carpenter's (bubble) level to verify. If one corner is out
of alignment, use shims under the press as necessary to
correct.
3. Misalignment of press lid: To verify this, do the "bookmark" test.
Cut thin strips of paper and place at different sections of the seal all the
way around the press. Close the lid and secure the latches, then try
to remove the paper strips. The paper will normally be held tight. If the
paper can be pulled out, this will indicate there is a gap between the
seal and the lid of the press.
Normally, this can be resolved by adjustment of the hinges at the rear
of the press. Refer to the Routine Maintenance section on page 14 for
the procedure.
A gap at the front of the press may also indicate that the latches need to
be adjusted. The latches should snap shut with a fi rm "click" but should
not be diffi cult to close. If they are too loose, follow the adjustment
procedure in the maintenance section. Do not overtighten the latches,
as this will cause them to wear out prematurely and will not improve
the vacuum.
4. Diaphragm has split or has been cut: Inspect the diaphragm
carefully for holes, particularly around the edges and in the corners.
Small holes can be repaired with a bicycle tube repair kit. (Apply the
patch to the bottom of the diaphragm.) If necessary, the diaphragm can
be removed from the press for inspection. Be sure to disconnect the
press from the power source before taking the diaphragm out.
5. Internal vacuum leakage: Put your thumb over the hole in the rear
corner of the diaphragm and observe the reading on the vacuum gauge.
If the reading is still too low, check the following:
a. Check that all vacuum hose connections are tight.
b. Check the pump fi lter for blockage. Ensure the pump is off, then
unscrew the fi lter bowl, pull the fi lter cartridge out and refi t the bowl. If
this fi xes the problem, the fi lter element will need cleaning. Unscrew
the retaining plate at the bottom of the cartridge and withdraw the fi lter
element, wash in household detergent and re-assemble.
Note: The HPG560 has two vacuum inlets, one in each corner.
Illustration 15A: "Bookmark" test
Illustration 15B: Tugging on each strip
to determine vacuum seal.
Illustration 15C: Checking for internal
vacuum leakage.
15
Troubleshooting
