3M Dynapro ET 350R 설치 매뉴얼 - 페이지 2
{카테고리_이름} 3M Dynapro ET 350R에 대한 설치 매뉴얼을 온라인으로 검색하거나 PDF를 다운로드하세요. 3M Dynapro ET 350R 7 페이지. Nema 4x hatch
3M Dynapro ET 350R에 대해서도 마찬가지입니다: 설치 매뉴얼 (3 페이지), 설치 매뉴얼 (6 페이지)
Installing the NEMA 4X Hatch
1 NEMA 4X extended hatch cover
!
1 gasket
!
4 #6-32 Phillips screws
!
Cable fitting components (3 large sizes and
!
3 small sizes of each component are provided):
Locking nut
!
O-ring
!
Body hex with compression sleeve
!
Sealing nut
!
For details about the supplied cable fitting
components, see Table A.
19504 (Rev. 1.1)
3M Dynapro ET 350 Monitor (Models ET 350R and ET 350L3)
Tools required
To install the NEMA 4X hatch, you will need the
following:
Horizontal work surface with a padded cover or
!
foam pads to protect the front bezel and the
display of the unit.
Flat blade screwdriver with 3/16-inch blade
!
No. 1 Phillips torque screwdriver
!
1 19/32" (15 mm) open-end wrench
!
1 15/16" (24 mm) open-end wrench
!
Attaching the gasket
Important
If you ordered the ET 350L3 monitor, the hatch gasket
was attached at the factory. Proceed to "Preparing the
hatch for cables".
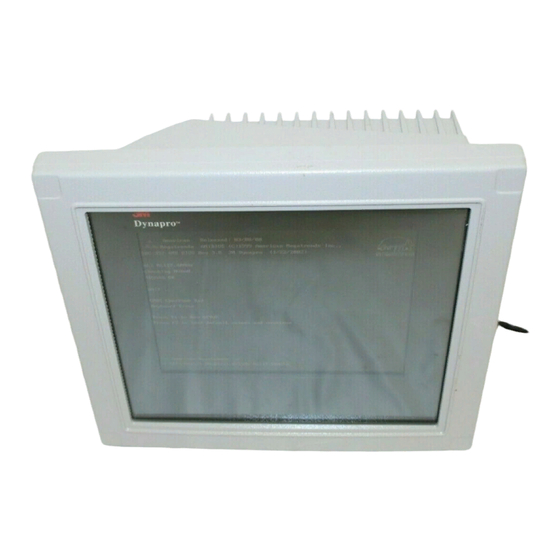
Place the monitor face down on a horizontal
1.
work surface (covered with foam pads or other
material to protect the monitor's bezel and touch
screen), with the access hatch facing you.
Before removing the gasket backing, position the
2.
gasket over the recessed edge of the access hatch
opening so that you know which way it fits.
. The gasket is not rectangular. The side of
Note
the gasket that is placed near the back of the
monitor is shorter than the side that is placed
near the front of the monitor.
Back of monitor
Front of monitor
32525_co
Page 2