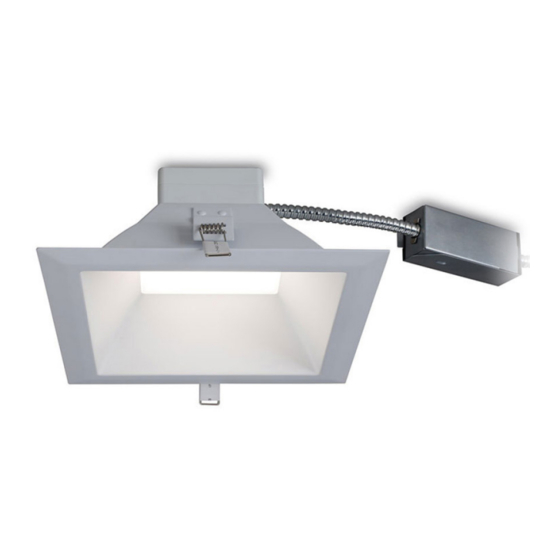
Daintree GE current Lumination LRXEMBBKIT07HE 설치 매뉴얼 - 페이지 4
{카테고리_이름} Daintree GE current Lumination LRXEMBBKIT07HE에 대한 설치 매뉴얼을 온라인으로 검색하거나 PDF를 다운로드하세요. Daintree GE current Lumination LRXEMBBKIT07HE 6 페이지. Led luminaire

Lumination
(LRX - Series)
®
Frame Installation
2
Ensure that the power to the unit is turned off.
Use proper lockout and tagout procedures.
Connect AC and
Connect AC and
dimming conduit
dimming conduit
AC line
AC line
Junction
Dimming (optional)
4
Connect the conduit for the fixture AC and dimming leads to the junction box. Verify that the AC supply line and dimming leads are
Dimming (optional)
connected properly (see wiring diagram).
Note: For phase cut dimming product, dimming leads can be disconnected
• If dimming leads will not be utilized, please do not remove the wire connectors.
• Dimming compatibility for both 0-10V and phase cut, please refer to Current's website: www.gecurrent.com/dimming.
5
Connect male and female ends of the battery unit
connector. Then the battery will discharge. Please
refer to the picture shown above.
LRXEMBB IT07
LRXEMBB IT07
LXREMBBKIT10
LXREMBBKIT10
Junction
box
box
3
Remove existing downlight fixture. Leave wiring in Junction
box. Verify that the AC supply line is provided with a
ground wire connected to the luminaire.
Unswitched Power (L1)
Unswitched Power (L1)
Common (N)
Common (N)
Switched Power (L2)
Switched Power (L2)
Grounding
Grounding
Dimming (+)
Dimming (+)
Dimming (–)
Dimming (–)
6
Attach LRXEMBBKIT07HE, LRXEMBBKIT07 or
LRXEMBBKIT10 to existing frame with "L" bridge and
secure IOTA battery to the ceiling.
4
Installation Guide
Black
Black
White
White
Red
Red
Yellow-Green
Yellow-Green
Violet
Violet
Gray
Gray
"L" Bridge
"L" Bridge
Secure
Secure
battery
battery
