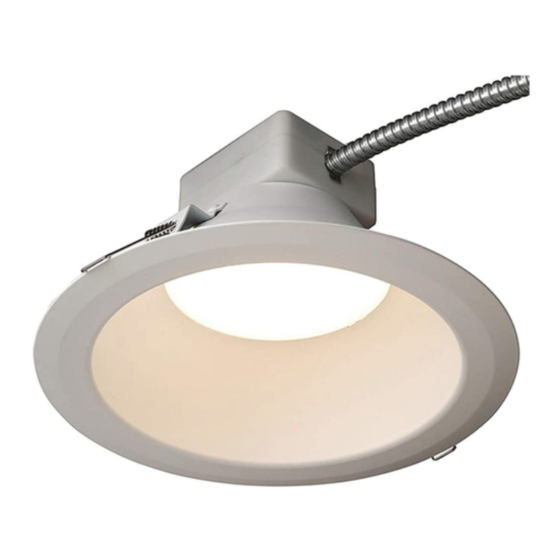
Daintree GE current Lumination RX Series 설치 매뉴얼 - 페이지 2
{카테고리_이름} Daintree GE current Lumination RX Series에 대한 설치 매뉴얼을 온라인으로 검색하거나 PDF를 다운로드하세요. Daintree GE current Lumination RX Series 8 페이지. Led luminaire

Lumination
RC/LRC/RXLRX Series
®
Provided Components
The components have been properly packed to avoid damage during transit. Inspect the components to confirm there is no physical
damage. Do not install damaged components.
Fixture
Ceiling Hole
Diameter
Diameter
LRXR4
4.9-5.2in
RC6/LRC6
6.4-7.2in
5.91-6.60in
RX6/
LRXR6/
LRXGR6
7.5-8.9in
RC8/LRC8
7.68-8.27in
RX8/LRXR8
LRXR10
10.2-11.0in
LRXR12
12.2-13.0in
1
Cut the appropriate size
hole into the ceiling tile.
Ensure frame hole diameter
matches fixture diameter.
4
Option A: Mount fixture by attaching hanger bars to T-Grid
ceiling (BH3 SKU 94890)
Option B: Mount fixture with 1.2" EMT conduit (not supplied)
Option A: If no holes are present on short side, use #8-1/2" self-drilling
screws
Option B: If holes are present on the short side, use the screws provided
with the frame.
Frame Installation
2
Place side L-brackets on existing frame
screws and tighten with screwdriver on
both sides of the frame. Then attach
mounting brackets to both L-brackets with
provided wing nuts.
2
Installation Guide
3
5
Adjust fixture height to be flush with ceiling and tighten
mounting bracket wing nuts.
Slide hanger bars
through adjustable
mounting brackets.
