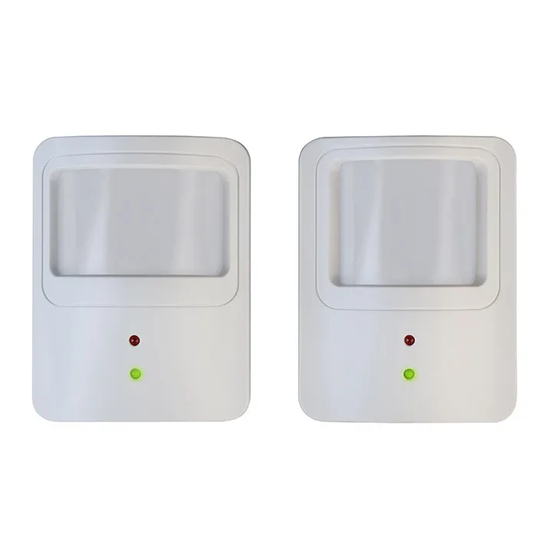
Daintree Networks WOS2-WM 설치 지침 - 페이지 2
{카테고리_이름} Daintree Networks WOS2-WM에 대한 설치 지침을 온라인으로 검색하거나 PDF를 다운로드하세요. Daintree Networks WOS2-WM 4 페이지. Wireless occupancy sensor (wall mount) with photosensor

Daylight Hold-Off
Mountain View, CA, www.daintree.net
Mountain View CA www da
Mountain View CA www da
Wireless Occupancy Sensor, Model: WOS2-WM
Wireless Occupancy Sensor, Model: WOS2-WM
Power Supply: Battery ER14505 AA 3.6V (2)
FCC ID: NRH-ZB-Z100B
IC: 8984A-Z100B
ICES/NMB-003 CLASS B
FOR INDOOR USE ONLY
FOR INDOOR USE ONLY
00137A000000-0000
IEEE Address:
6. A er the ba eries have been installed for at least 3 minutes,
ini ate the Installa on Test Mode: Momentarily press the
U lity bu on. The green LED fl ashes once then the red LED
fl ashes each me the sensor detects mo on. (The test mode
mes out a er 5 minutes.)
a.
Walk test the sensor. Walk outside the coverage area
and wait for the red LED to stop fl ashing. Step inside
the desired coverage area and observe the red LED.
b.
Repeat from various posi ons in the coverage area.
c.
If necessary, adjust the sensor as described in
Adjustments:
PIR Sensi vity, then repeat the walk test.
d.
If you do not observe the proper behavior, see
Troubleshoo
ng.
7. Op onal: Set the light level threshold as described in
Adjustments:
Daylight Hold-Off .
If not using this feature, make sure the (
the fully clockwise posi on.
8. Exit Installa on Test Mode. Momentarily press the U lity
bu on again, or wait 5 mintues for the mode to me out.
9. Complete the installa on by rese ng the device: press and
hold the U lity bu on for 5 seconds. Release the bu on
when the Network LED begins to fl ash rapidly.
The sensor a empts to join a ZigBee network for up to 30
seconds. If it is able to join, the Network LED turns on solid
for 10 seconds. If it is unable to join, it automa cally retries
every 15 minutes un l it succeeds in joining a network.
Note, the sensor will not be able to join a network un l a
Wireless Area Controller (WAC) is commissioned.
See
LED Opera on
and
page 2 of 4
PIR
Sensi vity
U lity
Bu on
Swivel
Mount
Collar
20120412
Ba ery
Compartment
Cover (press
arrows then
slide down
0000
to open)
) trimpot is set to
Joining the ZigBee
Network.
www.daintree.net
LED Opera on
Green LED:
Network Indicator
Rapid fl ash (12 mes
Device is trying to join ZigBee
per second) for up to 30
network. If it fails to join, it will
seconds
retry a er 15 minutes.*
Device successfully joined a
Solid for 10 seconds
ZigBee network.
U lity bu on was pressed to
Flashes once
ini ate Installa on Test Mode.
While unit is in
Daylight level is greater than the
Installa on Test Mode,
hold-off level set with trimpot.
turns On
U lity bu on was pressed for
Flashes twice
2 seconds and the device is
currently joined to a network.
On for 2 seconds every 30
Ba eries low. Replace the
seconds
ba eries.
Red LED: Installa on
Descrip on
Test Mode, Mo on
While unit is in
The red LED fl ashes each me sensor
Installa on Test Mode,
detects occupancy. Test mode mes
Flashes
out a er 5 minutes.
Normal opera on: either not
detec ng occupancy, or detected
Off
occupancy and is in Off Delay. The red
LED turns on with ini al occupancy.
Joining the ZigBee Network
A er successfully comple ng the Installa on Test the WOS2 is
ready to communicate with the Daintree Wireless Area Controller
(WAC) and the Daintree ControlScope Manager (CSM) web-based
ligh ng management user interface.
* A network join can be retriggered manually at any me using
one of the following methods:
• Reset to factory defaults: This causes the device to leave
any network to which it is currently joined. Following the
reset, the device a empts to join a network. Press and hold
the U lity bu on for 5 seconds. Release the bu on when
the Network LED begins to fl ash rapidly.
• Ac vate device: Press and hold the U lity bu on for 2
seconds. If the device is already joined to a network, the
Network LED fl ashes twice. If the device is not joined to a
network, the Network LED fl ashes rapidly and the device
will a empt to join a network.
For more informa on about confi guring the ligh ng control
network, see the instruc ons and on-line help provided with the
ControlScope Manager applica on.
Descrip on
WOS2-WM 120731
