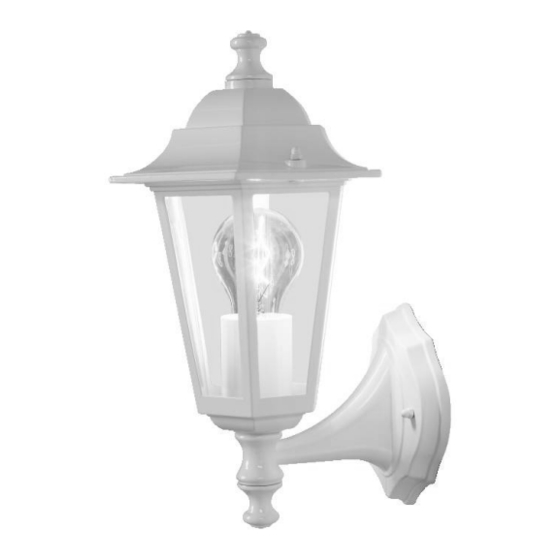
Anslut 420-150 사용 설명서 - 페이지 9
{카테고리_이름} Anslut 420-150에 대한 사용 설명서을 온라인으로 검색하거나 PDF를 다운로드하세요. Anslut 420-150 9 페이지.

Wall mounting (figure 1)
1.
Decide first whether to mount the lamp pointing up or down.
2.
Insert the two screws in the backpiece.
3.
Mount the backpiece on the wall using the screws supplied.
4.
Connect the power cord conductor to the lamp.
5.
Position the lamp fixture over the backpiece and secure with the nuts supplied.
6.
Screw in a light bulb. Do not exceed the specified rated output for the fixture.
Post mounting (figure 2)
1.
Place the fixture on top of the post.
2.
Connect the power cord conductor to the lamp.
3.
Mount the fixture on the post using the two screws.
4.
Screw in a light bulb. Do not exceed the specified rated output for the fixture.
Ground mounting (figure 3)
5.
Connect the power cord conductor to the lamp.
6.
Secure the lamp in the required location with expansion bolts.
7.
Screw in a light bulb. Do not exceed the specified rated output for the fixture.
Ceiling mounting (figure 4)
1.
Insert the two screws in the backpiece.
2.
Mount the backpiece on the ceiling using the screws supplied.
3.
Connect the power cord conductor to the lamp.
4.
Position the lamp fixture over the backpiece and secure with the nuts supplied.
5.
Screw in a light bulb. Do not exceed the specified rated output for the fixture.
Replacing the bulb
NOTE: The bulb gets very hot. Do not touch the bulb with your bare hands when it is on or before it has
cooled down.
Disconnect from the mains power supply.
Open the light cover.
Carefully unscrew the old light bulb.
Screw in a new, clean bulb.
Put the light cover back in place before connecting the mains power supply.
ELECTRICAL SAFETY
New installations and extensions to existing systems must always be performed by a qualified electrician.
If you have the necessary experience and knowledge, you may replace switches and wall sockets, fit
plugs, extension cords and lamp holders. If not, you should contact an electrician. Improper installation
may result in electric shock or fire.
Jula reserves the right to make changes. In the event of problems, please contact our service
department.
www.jula.com
ENGLISH
MAINTENANCE
9
