DSPPA MP600PIII 소유자 매뉴얼 - 페이지 3
{카테고리_이름} DSPPA MP600PIII에 대한 소유자 매뉴얼을 온라인으로 검색하거나 PDF를 다운로드하세요. DSPPA MP600PIII 6 페이지. Mixing amplifier
DSPPA MP600PIII에 대해서도 마찬가지입니다: 사용자 설명서 (9 페이지), 빠른 시작 매뉴얼 (4 페이지), 소유자 매뉴얼 (12 페이지)

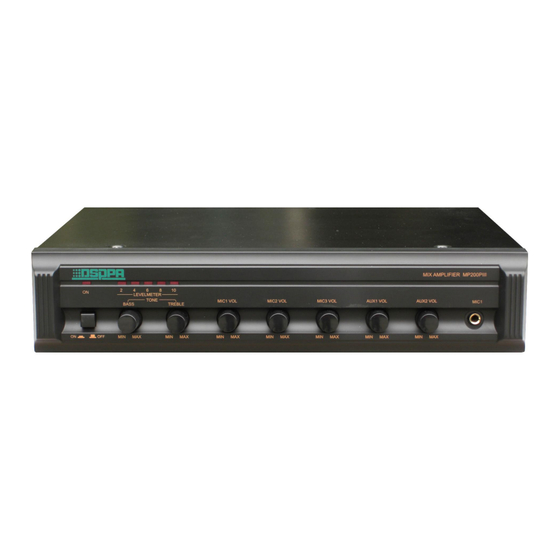
FRONT PANEL
2
ON
BASS
ON
OFF
MIN
1 2
3
1
LED power indicator
For main power.
2
Power switch
For main power.
3
LED level meter
Indicate output level.
4
Bass control
Adjust bass response.
5
Treble control
Adjust treble response.
Note: When all the five elements of the LED level meter remain lit, it indicates that the
sound is distorted. In such a case, adjust each volume controlling button, until LED
element 4 (+8dB) and LED element 5(+10dB) shall flash.
REAR PANEL
广州市迪士普音响科技有限公司
Guangzhou DSPPA Audio Co.,Ltd.
MIC2
MIC3
AUX1
MUTE
MAX
MIN
INPUT
MP200P
III
.MP300P
III
SERIES MIXING AMPLIFIER
1
2
1
Mute control
Adjust muting function.
2
MIC2 input & MIC3 input
Connect to the microphones at unbalanced
30-600Ω with 1/4 phone plug.
The signals from MIC2 and MIC3 will
be muted by the signal from MIC1.
3
AUX1 input & AUX2 input Prevent the excessive
Connect to auxiliary source equipment.
Note: When connecting to speakers, use one pair of speaker output terminals only.
4
6
8
10
LEVELMETER
TONE
MIC1 VOL
TREBLE
MAX
MIN
MAX
MIN
MAX
4
5
COM
AUX2
OUT
SER.
NO.
3
4
MIC2 VOL
MIC3 VOL
MIN
MAX
MIN
MAX
6
6 MIC volume control
Adjust microphone volume.
7 AUX volume control
Adjust AUX input volume.
8 MIC1 input jack
Connect to microphone of unbalanced
30-600Ω with 1/4"phone plug.
The muting function is activated
while the signal is sent to MIC1.
DSPPA
P1
70V
100V
F A
P1
AUDIO OUTPUTS
警告
请勿打开,以免触电
CAUTION!
RISK OF ELECTRIC SHOCK
DO NOT OPEN
5
4 AUX output
5 Output terminals
6 AC power connector
7 AC fuse
8 Fan intake window
3
MIX AMPLIFIER MP600PIII
AUX1 VOL
AUX2 VOL
MIN
MAX
MIN
MAX
7
FUSE TYPE/ 保险丝规格
III
III
MP200P
MP300P
F2AL250V
F4AL250V
16V
22V
F A
Nur Sicherung 250V
Use Only With A 250V Fuse
Employer Unlquement Avec
Fusible De 250V
~220V/50Hz/2A
带前置广播功放
6
7
Connect to amplifier.
Connect to speakers.
Connect to AC power source.
AC current flow.
MIC1
8
8
