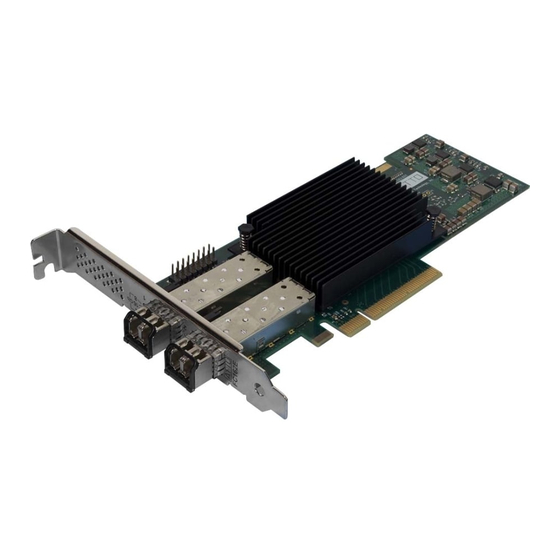
ATTO Technology ATTO Celerity FC-81EN 설치 및 운영 매뉴얼 - 페이지 13
{카테고리_이름} ATTO Technology ATTO Celerity FC-81EN에 대한 설치 및 운영 매뉴얼을 온라인으로 검색하거나 PDF를 다운로드하세요. ATTO Technology ATTO Celerity FC-81EN 20 페이지. Celerity fibre channel host adapters
ATTO Technology ATTO Celerity FC-81EN에 대해서도 마찬가지입니다: 기술 사양 (2 페이지), 브로셔 (14 페이지), 선택 매뉴얼 (1 페이지), 문제 해결 매뉴얼 (5 페이지), 사양 (2 페이지), 시작하기 매뉴얼 (2 페이지)

OS X
Note
Some ATTO Celerity FC drivers are included
on the Mac OS X (10.8.x and later)
Distribution CD and do not require additional
installation steps, however we recommend
you visit the ATTO website to check for, and
download, the latest drivers and firmware.
Note
The ATTO Celerity FC host adapters (except
for FC-164E) support OS X operating
systems. ATTO 16Gb and 8Gb FC adapters
also have EFI boot support on Intel based
systems.
Driver Installation (for all ATTO FC host
adapters)
1
Power on your system.
2
Double-click the downloaded driver file to
launch the installer
3
Follow the on-screen instructions.
4
Continue on to
Install
5
Launch
Installing a fresh copy of OS X onto a disk
attached to a Celerity FC adapter (only for
8Gb FC adapters)
Note
Boot support is available on Intel-based
systems only.
Note
The EFI boot driver is disabled by default. To
enable it, use the ATTO Configuration Tool in
an existing OS X installation, or use the EFI
Configuration utility built into the EFI driver
(see the procedure below for launching the
utility).
Note
This is a two step process. First step is to
adjust adapter settings with the EFI
Configuration utility. Second step is to install
the OS X onto a disk attached to the adapter.
Please review thoroughly to ensure you are
using the second step corresponding to the
OS X version available in your system.
Hardware.
Adjusting adapter settings with the EFI
Configuration Utility
Note
Depending on your configuration, it may be
necessary to adjust adapter NVRAM
settings prior to performing the OS X
installation. For example, you may need to
modify the connection mode or data rate.
The EFI configuration utility can be launched
from the EFI shell.
Note
An EFI shell is not included with Intel Macs.
ATTO recommends rEFIt, which is available
for free from http://refit.sourceforge.net.
Once you have downloaded the DMG or
rEFIt, follow these steps to open the EFI
Configuration Utility.
1
Burn the rEFIt DMG file to a CD. Do not remove
the CD.
2
Shut down the system and install the Celerity
adapter
3
With the rEFIt CD inserted, boot the system
while pressing and holding 'C' key. This will
boot the rEFIt CD.
4
The rEFIt boot menu will appear which contains
a series of icons. Release the 'C' key and use
the arrows to highlight the "Start EFI Shell" icon.
Press 'Return' to access the EFI Shell.
5
At the prompt, enter the 'driver-b' command.
Scroll through the list of installed EFI drivers
and find the ATTO Celerity driver. There may
be more than one entry based on the number
and type of adapter(s). Note the two or three
digit hexadecimal driver handle on the far left of
the screen.
6
At the prompt, enter 'drvcfg -s {handle}' where
{handle} is the hexadecimal number from the
previous step. This will launch the EFI
Configuration Utility for the associated adapter.
7
Use the on-screen menus to configure your
adapter. Help is available at the bottom of the
screen.
8
When exiting the configuration utility, if you
changed any settings, the system will restart
the adapter so the new settings take effect.
9
At the prompt, enter 'exit' to return to the rEFIt
boot menu or 'reset' to restart the system.
9
