Comtrol ROCKET LINX ES7506 빠른 설치 매뉴얼 - 페이지 4
{카테고리_이름} Comtrol ROCKET LINX ES7506에 대한 빠른 설치 매뉴얼을 온라인으로 검색하거나 PDF를 다운로드하세요. Comtrol ROCKET LINX ES7506 8 페이지. Industrial 6-port managed poe switch
Grounding the E7506
Wire the earth ground to ensure the system is not damaged by noise or any
electrical shock, we recommend that you make a direct connection between
the ES7506 and earth ground.
Using a screw driver, loosen the earth ground screw on the side of the
ES7506 and then tighten the screw after the earth ground wire is connected.
Mounting the ES7506
Use the appropriate procedure to mount the ES7506 on the wall or a DIN rail.
DIN Rail Mounting
Attaching the ES7506 to the Wall
Two DIN rail clips and four screws were shipped
Use the hook holes located at the corners of
with the ES7506. Use the screws to attach the
the wall-mount plate to mount the ES7506.
DIN rail clip to the wall-mount plate.
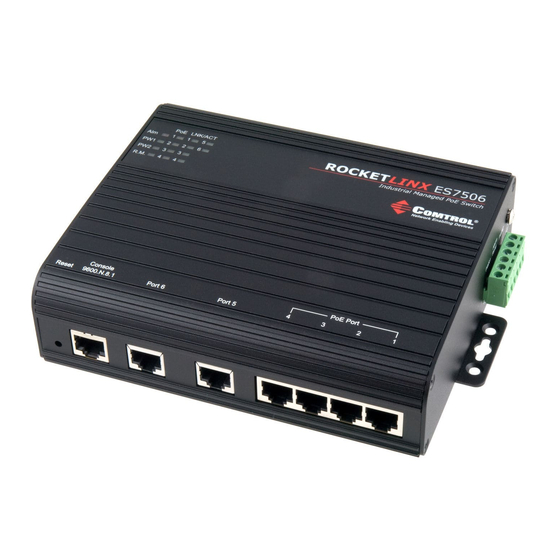
Connecting RJ45 Ports
Connect one end of an Ethernet cable into the Ethernet port of the ES7506
and the other end to the attached networking device. The Ethernet ports
support 10/100Mbps half/full-duplex. All ports auto-detect the signal from
connected devices to negotiate the link speed and duplex mode. Auto
MDI/MDIX allows users to connect another switch, hub, or workstation
without changing straight through or crossover cable.
Link/Act LEDs are lit to indicate traffic and link status, see the LEDs subsection
for more information.
3