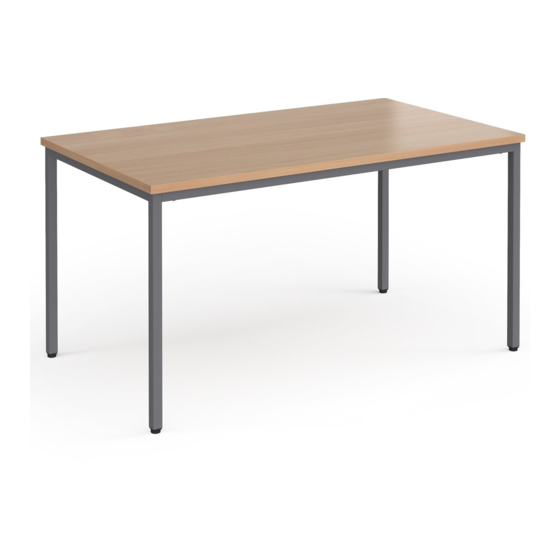
dams FLT1600-G-O 조립 지침 - 페이지 3
{카테고리_이름} dams FLT1600-G-O에 대한 조립 지침을 온라인으로 검색하거나 PDF를 다운로드하세요. dams FLT1600-G-O 4 페이지. Table

Please check that you have all the components
Please check that you have all the components
DAMS- 80x80, 80X100, 80X120, 80X140, 80X160, 80X180
DAMS- 80x80, 80X100, 80X120, 80X140, 80X160, 80X180
DAMS- 80x80, 80X100, 80X120, 80X140, 80X160, 80X180
DAMS- 80x80, 80X100, 80X120, 80X140, 80X160, 80X180
1
1
EN.
EN.
EN.
EN.
Please read the entire instruction manual before you proceed and check if at all parts are present. Clear all the packing
Please read the entire instruction manual before you proceed and check if at all parts are present. Clear all the packing
Please read the entire instruction manual before you proceed and check if at all parts are present. Clear all the packing
Please read the entire instruction manual before you proceed and check if at all parts are present. Clear all the packing
material and be careful not to damage anything in the process. If needed, assemble with multiple persons.
material and be careful not to damage anything in the process. If needed, assemble with multiple persons.
material and be careful not to damage anything in the process. If needed, assemble with multiple persons.
material and be careful not to damage anything in the process. If needed, assemble with multiple persons.
PARTS:
PARTS:
PARTS:
PARTS:
MANUAL INSTRUCTIONS
A: FRAME
A: FRAME
A: FRAME
A: FRAME
X100, 80X120, 80X140, 80X160, 80X180
A: FRAME
LARGE
LARGE SIDE
LARGE SIDE
LARGE SIDE
LARGE SIDE
SIDE
2PCS
manual before you proceed and check if at all parts are present. Clear all the packing
2 PCS
2 PCS
2 PCS
2 PCS
ything in the process. If needed, assemble with multiple persons.
1
D: BRACKET
4 PCS
Step 1
Step 1
To set up the desk, position on
floor with legs facing towards you
Lay the table top on a flat surface
with the holes pointing upwards.
G: M8 SPRING WASHER
Insert the plastic dowels (H) into
the table top (K) using a hammer
C: LEGS
or rubber mallet
4 PCS
I: M6 ALLEN KEY 1 PC
K
"
"
"
"
3
MANUAL INSTRUCTIONS
MANUAL INSTRUCTIONS
MANUAL INSTRUCTIONS
MANUAL INSTRUCTIONS
B: FRAME
B: FRAME
B: FRAME
B: FRAME
C: LEGS
C: LEGS
C: LEGS
C: LEGS
B: FRAME
C: LEGS
SMALL
4PCS
SMALL SIDE
SMALL SIDE
SMALL SIDE
SMALL SIDE
4 PCS
4 PCS
4 PCS
4 PCS
SIDE
2PCS
2 PCS
2 PCS
2 PCS
2 PCS
EN.
Please read the entire instruction manual before you proceed and check if at all parts are pr
E: M6x40 HEX HEAD BOLT
material and be careful not to damage anything in the process. If needed, assemble with multiple
10 PCS
PARTS:
H: DOWEL 10 PCS
4 PCS
J: M8 ALLEN KEY 1 PC
A: FRAME
H
LARGE SIDE
2 PCS
1 x
1 x
6mm Allen Key
6mm Allen Key
D: BRACKET
D: BRACKET
D: BRACKET
D: BRACKET
E: M6x40 HEX HEAD BOLT
E: M6x40 HEX HEAD BOLT
E: M6x40 HEX HEAD BOLT
E: M6x40 HEX HEAD BOLT
D: BRACKET
E: M6x40 HEX HEAD BOLT
4PCS
4 PCS
4 PCS
4 PCS
4 PCS
G: M8 SPRING WASHER
G: M8 SPRING WASHER
G: M8 SPRING WASHER
G: M8 SPRING WASHER
G: M8 SPRING WASHER
4PCS
4 PCS
4 PCS
4 PCS
4 PCS
I: M6 ALLEN KEY
I: M6 ALLEN KEY 1 PC
I: M6 ALLEN KEY 1 PC
I: M6 ALLEN KEY 1 PC
I: M6 ALLEN KEY 1 PC
1PCS
DAMS- 80x80, 80X100, 80X120, 80X140, 80X16
2
F: M8x65 HEXBOLT
4 PCS
Step 2
Step 2
Fold the legs up to a 90 degree angle
Loosely attach the frame
large side (A) and the frame
Dowel
small side (B) to the table
10pcs
top using the M6x40 bolt (E)
• When assembling the table fix the frame together loosel
K: TABLE TOP 1 PC
B: FRAME
SMALL SIDE
2 PCS
K
4
F: M8x65 HEX HEAD BOLT
10PCS
10 PCS
10 PCS
10 PCS
10 PCS
H: DOWEL
H: DOWEL 10 PCS
H: DOWEL 10 PCS
H: DOWEL 10 PCS
H: DOWEL 10 PCS
10PCS
1 x
1 x
Table top & Subframe
Table top & Subframe
MANUAL INSTRUCTIONS
J: M8 ALLEN KEY
K: TABLE TOP
J: M8 ALLEN KEY 1 PC
J: M8 ALLEN KEY 1 PC
J: M8 ALLEN KEY 1 PC
J: M8 ALLEN KEY 1 PC
1PCS
4 x
4 x
Legs
Legs
D: BRACKET
4 PCS
I
G: M8 SPRING WASHER
C: LEGS
E
4 PCS
B
I: M6 ALLEN KEY 1 PC
4 x
4 x
M8 x 35mm Bolt
M8 x 35mm Bolt
F: M8x65 HEXBOLT
F: M8x65 HEXBOLT
F: M8x65 HEXBOLT
F: M8x65 HEXBOLT
4PCS
4 PCS
4 PCS
4 PCS
4 PCS
K: TABLE TOP 1 PC
K: TABLE TOP 1 PC
K: TABLE TOP 1 PC
K: TABLE TOP 1 PC
1PCS
M6x40
E: M6x40 HEX HEAD BO
10pcs
10 PCS
B
A
4 PCS
A
J: M8 ALLEN KEY
3
3
H
