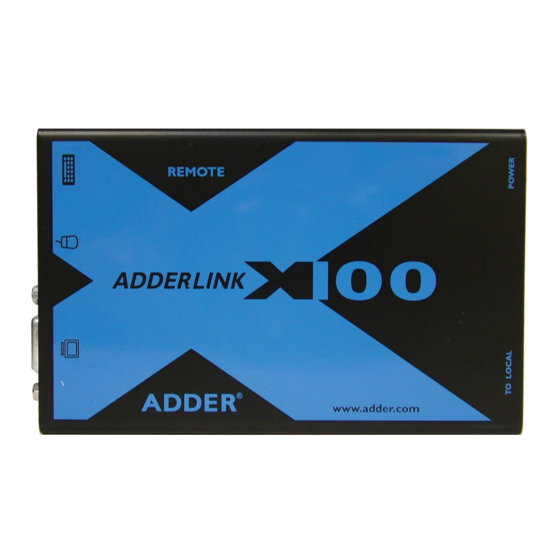
ADDER AdderLink X100 사용자 설명서 - 페이지 5
{카테고리_이름} ADDER AdderLink X100에 대한 사용자 설명서을 온라인으로 검색하거나 PDF를 다운로드하세요. ADDER AdderLink X100 19 페이지. Extender set
ADDER AdderLink X100에 대해서도 마찬가지입니다: 사용자 설명서 (19 페이지)

Installation & Operation
Connections
Installation of the X100 modules is straightforward and minimal configuration
requirements in most cases. The moulded CAM (Computer Access Module)
connects directly to the system, while the remote X100 module is at the other
end of the twisted pair cable and attaches to the keyboard, mouse, etc.
Connections.at.the.CAM.(local).unit
•
Connections.at.the.X100.(remote).module
•
Cable length advice
The X100 modules support twisted-pair structured cabling within categories
5, 5e and 6. Of these three cable types, category 5 generally provides the best
transmission of video signals because its four pairs of conductors are the most
evenly twisted.
Category 5e and 6 cables use conductor pairs that are unevenly twisted in order
to combat interference effects encountered within higher frequency networks.
While these uneven twists work well for Ethernet signals, they can impose
problems for the video signals transceived by the X100 modules. The X100
modules send the red, green and blue video signals on separate twisted pairs
within the cable. If any of the colour signals are made to travel slightly further
or shorter distances than the others, the result is seen as mis-aligned colours on
screen. This is called skew and becomes more noticeable as cable runs become
longer and screen resolutions/refresh rates increase.
As an approximate guide, you should expect the following maximum cable
lengths (achievable at resolutions up to 1600 x 1200 @ 60Hz):
Category 5
Category 5e or 6
100m ¹
50 to 100m ¹
¹ length limited by skew in the cable.
