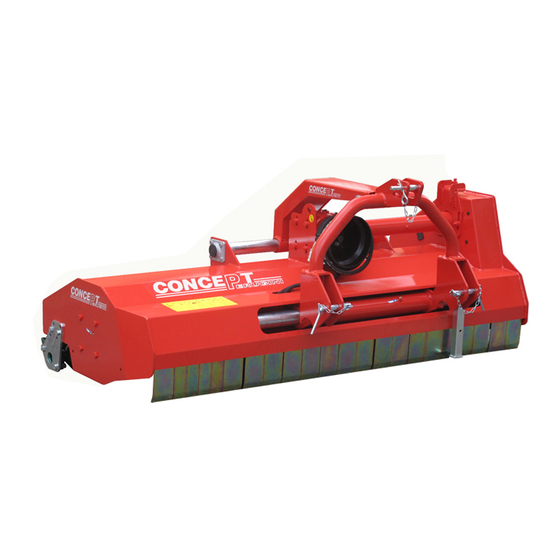
Concept Perugini PTR 250 지침서 - 페이지 8
{카테고리_이름} Concept Perugini PTR 250에 대한 지침서을 온라인으로 검색하거나 PDF를 다운로드하세요. Concept Perugini PTR 250 16 페이지. Flail mowers

ALWAYS MAKE SURE THE TRACTOR IS TURNED OFF, P.T.O
ALWAYS MAKE SURE THE TRACTOR IS TURNED OFF, P.T.O
IS DISENGAGED AND MACHINE IS MADE SAFE
Attaching the machine to the Tractor
Concept Perugini Flail toppers can be linked up to any tractor with a category 1
or 2 three point linkage.
Read the tractor's instruction manual before attaching attempting to attach the
machine to the tractor.
•
Adjust the width of the tractor arms to match the lower brackets on the
machine
•
On a fl at surface reverse the tractor up to the machine
•
Firstly attach the lower links and do the necessary adjustments to limit
sideways movement
•
Lengthen and attach the top link in order to have the machine parallel to the
ground once attached
•
Remember to fi t all the locking pins and that the machine is safely secured
to the tractor
On the PT the top link bracket is provided with a hole and a slot to attach the
NB
tractor's top link. It is important that during transport the top link is secured via the
hole and during work the slot is used. Failing to follow these instructions could
result in serious damage to the headstock sliding mechanism and to injury.
ET Headstock
The ET comes with a fi xed headstock but has 2 options as to where to attach the
3 point tractor linkage, this is to off er a fi xed off set option. To attach the machine
to the tractor proceed as previously described but choose the desired brackets,
either to have the machine directly behind the tractor or off set.
A
8
B
If the ET is attached with in position
A then the machine sits behind the
tractor as a normal fi xed fl ail mower.
If the machine is linked in position B
then the ET will be off set by 30 cm.
