Conceptronic CM3PVR 사용자 설명서 - 페이지 4
{카테고리_이름} Conceptronic CM3PVR에 대한 사용자 설명서을 온라인으로 검색하거나 PDF를 다운로드하세요. Conceptronic CM3PVR 10 페이지. Dvd playback & avi
Conceptronic CM3PVR에 대해서도 마찬가지입니다: 방법 (4 페이지), 지침 (3 페이지), 펌웨어 업그레이드 지침 (10 페이지)
between the outputs to get a picture no matter what connection is
used on first setup. I miss a SETUP button though.
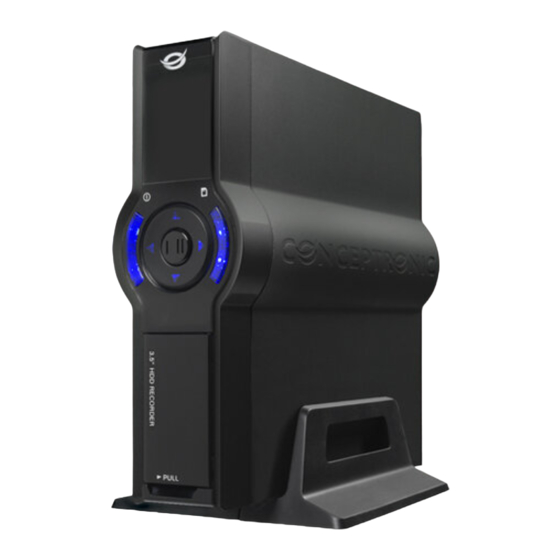
In the front is a little compartment that contains a USB2 host port
and a MMC/MS/SD card slot. Opening the plastic door of this
compartment isn‟t as easy and blocked by the upper cover. Pulling
the door open, the lever gets stuck behind it and offers the
impression the plastic front is not fitted well. Opening the door itself
is also a challenge unless your fingers suffer from anorexia. There‟s
just not enough space.
The front of the player offers some buttons that can help navigate
the player without remote. The navigational buttons are covered,
Record, Stop, Enter/OK/Play/Pause.
These buttons have lights integrated, the usual blue ones that might
become a burden. There is no option to disable these lights,
probably because of the recording functions that turn the left light
into red.
At the rear you have (from top
to bottom) the TV tuner in- and
out, mini USB slave connection
(for PC), composite in- and
outputs,
component
output,
digital coaxial audio output, s-
video output, and the main
power switch. The only missing
output would be "optical".
Filling up the internal hard drive
is a breeze using a PC and the
provided
USB/PC
connection
cable. The device is recognized
as a mass storage device on the
PC and you can start filling it up.
Using the device as an external
memory card reader is another
feature
covered
over
USB
connection
by
inserting
supported medium in the front
compartment.
Downside of the player is that
you cannot use Flash medium
and the internal hard drive at
the same time. Either the hard
drive is loaded or the Flash card
reader by pressing the "down"
button in front.
Overall, the hardware is acceptable as mentioned before but we did
not mention the price yet. In European countries, the CM3PVR is
sold for about €220.
SETUP
As the unit comes with a hard drive already built-in and
preformatted, you can plug it in and start setting it up right away.
Boot time is a mere 13 seconds, which brings you to the nicely
designed main interface
For SETUP, you have to press "7" which is a bit odd. I prefer the
any
good old SETUP button on the remote that offers direct access to
the Setup pages and arrow keys to select these items.
Interface languages supported include English, German, French,
Spanish, Portuguese, Italian and Dutch.
From the Setup pages, using the AUTO TUNING, you can easily let
the device search and save all the channels on your analog TV cable.