Concourse SMART WHEELS 사용자 사용 설명서 - 페이지 13
{카테고리_이름} Concourse SMART WHEELS에 대한 사용자 사용 설명서을 온라인으로 검색하거나 PDF를 다운로드하세요. Concourse SMART WHEELS 16 페이지. Remote pairing procedure
Concourse SMART WHEELS에 대해서도 마찬가지입니다: 사용자 사용 설명서 (20 페이지), 사용자 사용 설명서 (11 페이지), 피팅 지침 매뉴얼 (12 페이지), 빠른 시작 매뉴얼 (3 페이지)
8.0
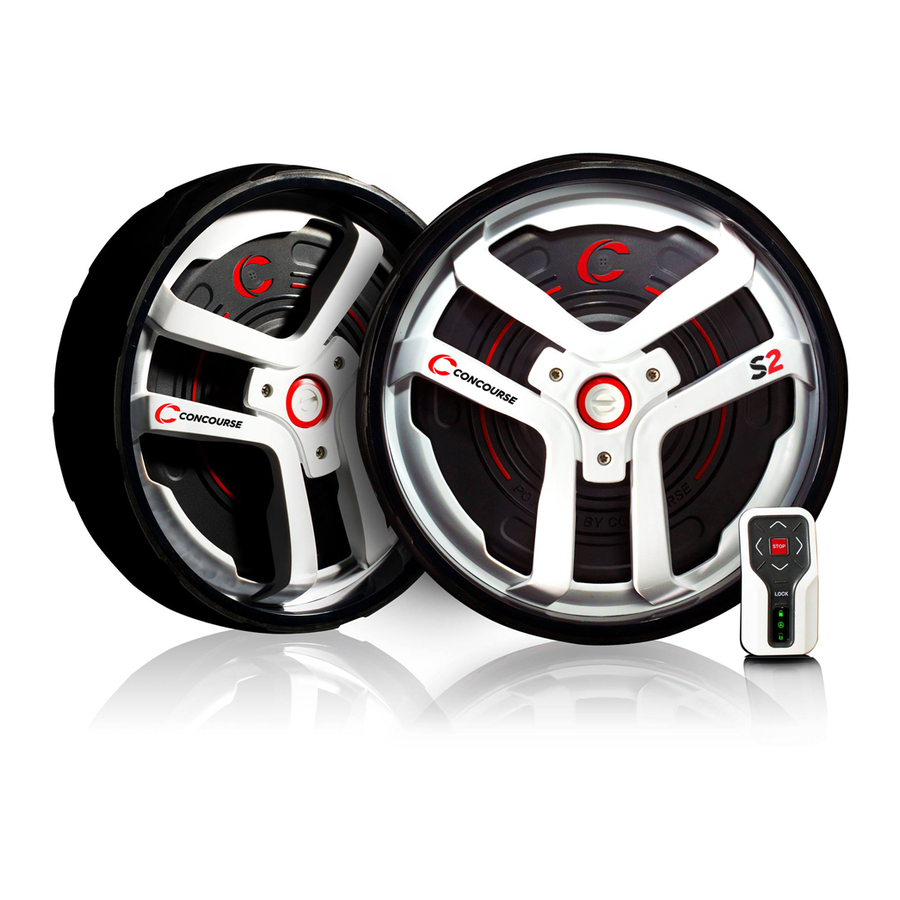
REMOTE CONTROL FUNCTION
8.1 Prior to using your remote control, ensure it has been fully
charged (refer to Section 3 for instruction).
8.2 To switch on the remote, press & hold the "LOCK" button
located in the middle of the remote control just above the LED
lights.
Once activated you will see the LED lights initially illuminating
blue and flashing before turning green. The blue flashing
indicates the remote control is 'syncing' with the wheels and
registering charge levels.
9.0
REMOTE CONTROL MOUNT
9.1 To attach your remote control mount to your Buggy Handle use
the Allen key provided in the kit.
9.2 Fix the Mount on the centre of your push buggy handle so you
can reach the controls using either your left or right thumb.
1300 650 059 | concoursegolf.com
8.3 Once all 3 LED's turn green, remove your finger from the lock
button and when there are no lights showing on the remote,
you are ready to operate the Smart Wheels by remote control.
8.4 If any one of the 3 lights appear red, it indicates either the
wheels are not charged sufficiently, the remote is not charged
sufficiently, or the remote control is locked. To charge either
the remote and or Smart Wheels, please refer to the Charging
Instructions in Section 3.
8.5 To unlock the remote control, simply press the "Lock" button
again and follow the procedure outlined in 7.2 .
9.3 Undo the mounting bracket, position the mount around the
handle and then finger tighten the screws so they thread cleanly
back into the mount.
9.4 Once positioned suitably, moderately tighten the mounting
screws so that the remote control mount is securely in position.
CBM3 MOUNT
13
13
User Instruction Manual | Version 3.0
User Instruction Manual | Version 1.7