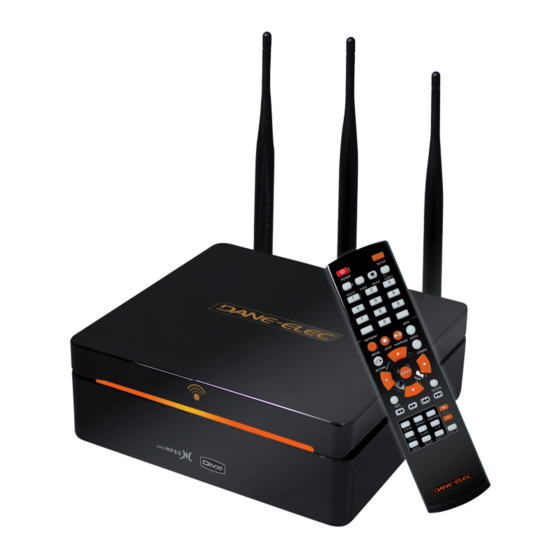
DANE-ELEC SoSmart Media 빠른 시작 매뉴얼
{카테고리_이름} DANE-ELEC SoSmart Media에 대한 빠른 시작 매뉴얼을 온라인으로 검색하거나 PDF를 다운로드하세요. DANE-ELEC SoSmart Media 2 페이지. Multimedia hard drive player

PACKAGING
CONTENTS
SoSmart Media,
A/C adapter
Rubber pad
CD Rom with Nero
remote control and
MoveIt Essentials
WiFi Antenna
software (PC only)
USB cable 1.1/2.0
Batteries
RCA A/V cables
HDMI cable
Quick Start Guide
WIRELESS
BASIC
NETWORKING
SETUP
SETUP
1. Plug AC/Adapter to the SoSmart Media and to the
1. After completing the Basic Set-up, turn on your SoSmart
electrical power (wall or outlet)
Media
2. Insert the batteries into the remote control unit.
2. Press "SETUP" on your remote and select "Network"
3. For the best picture quality, use the HDMI connec-
3. Use the arrow keys to select "Enable"
tion. Plug one end of the HDMI cable into the SoSmart
4. Press "Enable" and select "Wireless"
Media HDMI output jack and the other end into the
5."Address Setup" should say "Auto"
TV HDMI input jack. If HDMI is not an option with your
6. Scroll down the menu to "Wireless Apply" and press "Enter"
display, connect the included yellow composite video
on your remote. The system will now try to acquire an IP
cable from the yellow video jack on the SoSmart Media
address automatically from the router. The advance wireless
to the yellow video-in jack on your TV and the red and
settings menu will now be displayed from modifying and config-
white RCA audio cables form the red and white audio-
uring wireless settings
out jacks on the SoSmart Media to the red and white
7. Next, use your SoSmart Media remote to scan for or manually
audio-in jacks on your TV.
enter your router's ESSID. ESSID is the wireless signal name
4. Turn the SoSmart Media on by pressing the "Power"
or SSIC of your WiFi router and can be found in your router's
button on the remote control
configuration manager.
5. On your TV, select the Input channel where you
8. When you are done, select OK. On the Wireless SETUP screen
plugged the SoSmart Media
"Channel" and "WEP Mode" should both say "Auto"
6. Move audio, video or photo files to the SoSmart
9. If you are using WEP encryption, highlight "Encryption" and
Media:
select "WEP". Next, enter your WEP key, highlight "Wireless
a. Plug SoSmart Media (via USB cable) into the PC that
Apply" and press "Enter"
has the files you want to play
10. "Success" should now be displayed next to "Wireless Apply"
b. Find the file(s) you want to copy to the SoSmart
Media
To Stream media from you PC, you will need to set up a Shared
c. Copy file from PC and paste it to the SoSmart Media
Folder:
hard drive under the appropriate sub folder (music,
1. On your computer, right click on the folder you want to stream
video or photo)
to your SoSmart Media
d. Disconnect the SoSmart Media from the PC and
2. Next, select "Sharing & Security" on your computer
restart the SoSmart Media.
3. Under the sharing tab on your computer, click on "Network
e. On the SoSmart Media, find the file and press play.
Setup Wizard" and follow the on-screen instructions
To Access Media using a wireless connection:
1. Go to the SoSmart Media Menu Screen and select "All media"
2. Hit refresh a few times until your folders are displayed
Now you are setup and ready to browse your computer shared
folders and stream your digital content to your TV!
SETUP
STEPS
Connect to "SoSmart Media"
Connect to the network
USB
Wired: via RJ45, 10/100 LAN
A/C
Wireless: via WiFi
WiFi
For NDAS function, please see User manual
Factory reset
Entertainment Center connection options
A Hardware Reboot may be
required if the player fails to per-
form reliably. Hardware Reboot
may also be needed if the admin
Component YPbPr
(cable not included)
Password is forgotten, lost or
misplaced.
1. Power off "SoSmart Media".
2. Press the "SETUP" button
and then the "1" button on the
remote control
3. Wait for LED on "SoSmart
Media" to turn on
4. Press the "POWER" button on
remote control
5. The unit Reboots and returns
Audio/Video
to Factory Default condition
(Warning! No light on center)
6. Wait for 30 seconds before
pressing the "TVOUT" button
on remote control to obtain the
video on your TV.
HDMI
