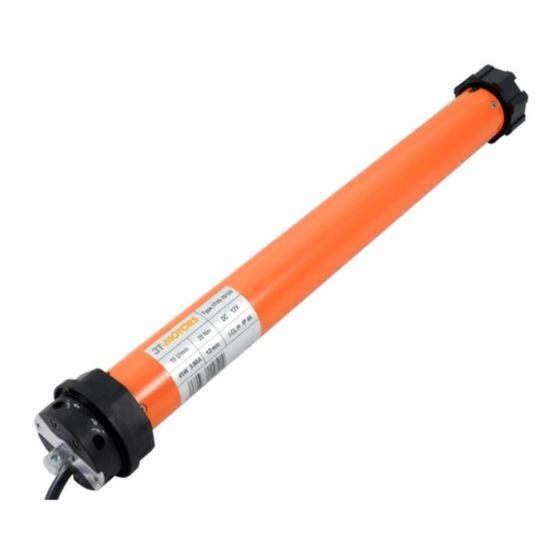
3T-Components 3T-MOTORS 3T45-40B 설치 및 운영 지침 매뉴얼 - 페이지 15
{카테고리_이름} 3T-Components 3T-MOTORS 3T45-40B에 대한 설치 및 운영 지침 매뉴얼을 온라인으로 검색하거나 PDF를 다운로드하세요. 3T-Components 3T-MOTORS 3T45-40B 20 페이지. Shutter / awning motors
INSTALLATION INSTRUCTIONS
Setting the end positions:
5
Setting the end points with set button
Connect tubular motor to switch
Test direction of rotation
Press Up button (Arrow up) = Awning moves IN
•
Press Down button (Arrow down) = Awning moves OUT
•
Change the direction of rotation of the motor if necessary
To change the direction of rotation, swap the up and down leads
•
(brown and black cable) at the switch
Setting the position „EXTEND"
Set the switch to „DOWN"
>
fig. 8.1
•
Awning moves OUT
>
fig. 8.2
•
Run the tubular motor in the „EXTEND" direction and set the end point by
•
pressing the set button (motor stops).
If the motor stops before the „EXTEND" end point, a readjustment is
•
possible by pressing the set button (switch must be set to „DOWN").
Continuous pressing = motor continues to extend continuously.
Pressing once = motor continues to extend step by step.
8.1
8.2
8.4
8.5
Setting the position „RETURN"
Set the switch to „UP"
>
fig. 8.4
•
Awning moves IN
>
fig. 8.5
•
Run the tubular motor in the „RETURN" direction and set the end point
•
by pressing the set button (motor stops).
If the motor stops before the „RETURN" end point, a readjustment is
•
possible by pressing the set button (switch must be set to „UP").
Continuous pressing = motor continues to return continuously.
Pressing once = motor continues to return step by step.
>
fig. 8.3
8.3
8.6
>
fig. 8.6
Setting the end points with adjustment cable ESK
Connect tubular motor to ESK
Up button
Set button
Down button
Test direction of rotation
Press Up button = Awning moves IN
•
Press Down button = Awning moves OUT
•
Change the direction of rotation of the motor if necessary
To change the direction of rotation, swap the up and down leads
•
(brown and black cable) at the setting cable
Setting the position „EXTEND"
Set the adjustment cable to „DOWN"
•
Awning moves OUT
>
fig. 8.8
•
Run the tubular motor in the „EXTEND" direction and set the end point by
•
pressing the green set button (motor stops).
If the motor stops before the „EXTEND" end point, a readjustment is
•
possible by pressing the green set button (ESK must be set to „DOWN").
Continuous pressing = motor continues to extend continuously.
Pressing once = motor continues to extend step by step.
8.7
8.8
8.10
8.11
Setting the position „RETURN"
Set the setting cable to „UP"
>
•
Awning moves IN
>
fig. 8.11
•
Run the tubular motor in the „RETURN" direction and set the end point
•
by pressing the green set button (motor stops).
If the motor stops before the „RETURN" end point, a readjustment is
•
possible by pressing the green set button (ESK must be set to „UP").
Continuous pressing = motor continues to return continuously.
Pressing once = motor continues to return step by step.
>
fig. 8.7
>
fig. 8.9
8.9
8.12
fig. 8.10
>
fig. 8.12
3T-MOTORS Tubular motors | Installation instructions
15