3T-Components 3T-MOTORS 3T45-40RNH 설치 및 운영 지침 - 페이지 9
{카테고리_이름} 3T-Components 3T-MOTORS 3T45-40RNH에 대한 설치 및 운영 지침을 온라인으로 검색하거나 PDF를 다운로드하세요. 3T-Components 3T-MOTORS 3T45-40RNH 20 페이지. Radio shutter / awning motors
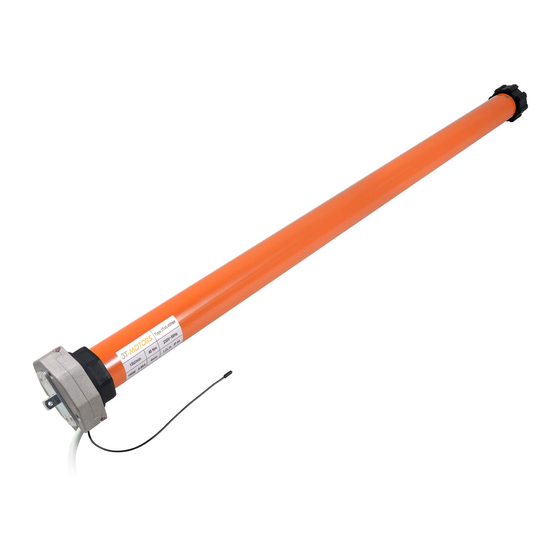
INSTALLATION INSTRUCTIONS
On the opposite side of the motor, push the roller capsule out of the roller shutter shaft until it fits into the ball bearing inserted in the wall bearing.
•
Fix roller capsule to roller shutter shaft with self-tapping screw. Position the screw at a punched hole. This prevents the screw from slipping.
•
Roller capsule
Shutter motor wiring:
6
Connect the radio roller shutter motor to the mains.
•
The electrical connection of the roller shutter motor and control unit may only be carried out by qualified personnel.
•
Power grid
230 V / 50 Hz
1) brown / black = L1 / Phase
2) blue = N Neutral conductor
3) green/yellow = PE Protective conductor
Programming radio transmitter:
7
Pair radio transmitter to shutter motor. See Programming radio transmitter > Pairing handheld transmitter to 3T radio motor type RNH (page 15)
•
If the direction of rotation is reversed, please change it with the paired radio handheld transmitter > Change direction of rotation of radio motor (page15).
•
1 (L1)
2 (N)
3 (PE)
Wall bearing +
Ball bearing
1 (L1)
2 (N)
3 (PE)
1) brown / black = L1 / Phase
2) blue = N Neutral conductor
3) green/yellow = PE Protective conductor
3T-MOTORS Radio tubular motors | Installation instructions
Shutter motor
230 V / 50 Hz
9