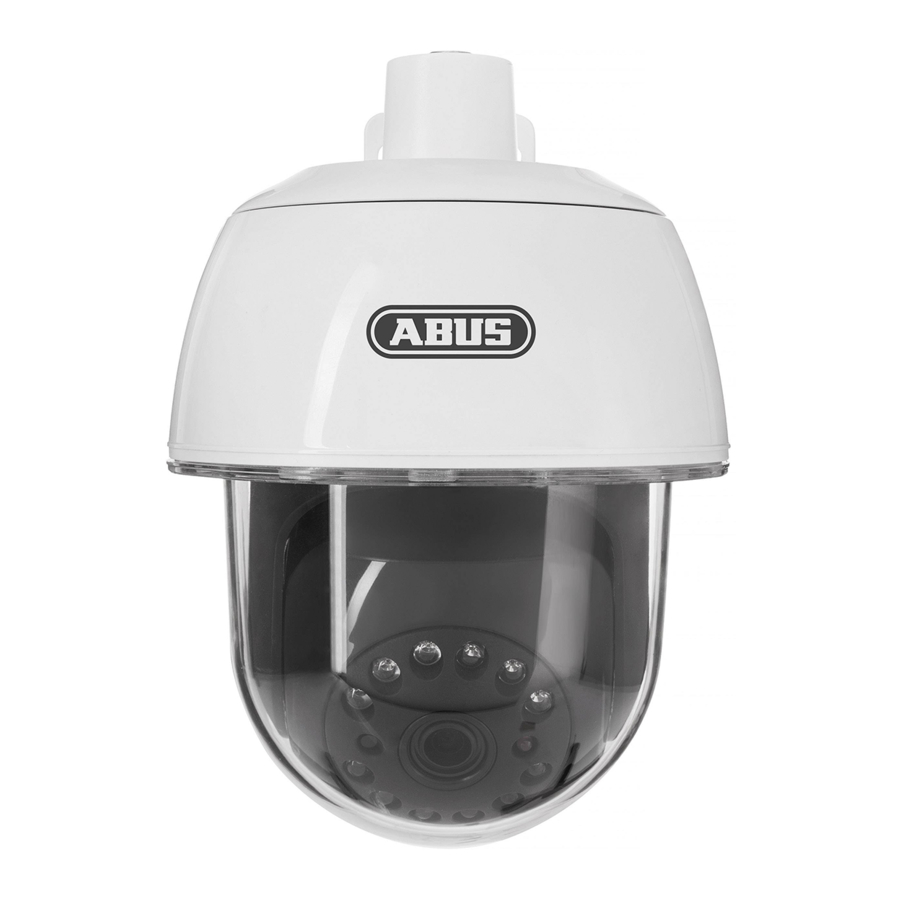
Abus PPIC32520 빠른 매뉴얼 - 페이지 7
{카테고리_이름} Abus PPIC32520에 대한 빠른 매뉴얼을 온라인으로 검색하거나 PDF를 다운로드하세요. Abus PPIC32520 8 페이지. Wi -f i pa n/ t ilt o u t d o o r c a me r a
Abus PPIC32520에 대해서도 마찬가지입니다: 빠른 매뉴얼 (9 페이지)

Bei der Erstinstallation muss der
Sicherheitscode geändert werden. Die
Sicherheitscode ändern
erneute Verwendung des Standard
•••••••
Sicherheitscodes „123456" ist nicht
•••••••
möglich. Es wird empfohlen eine
Kombination aus Zahlen sowie Klein-
Confirm
und Großbuchstaben zu verwenden.
Die Verwendung von Umlauten und
Sonderzeichen ist nicht möglich.
In the first installation you will
need to change the security code.
You will not be allowed to enter the
standard security code ‚123456' as your
new code. We recommend using a
combination of numbers and letters in
lower and uppercase. The use of special
characters is not supported.
Sicherheitscode
ändern
Change
Security Code
5
Für Rauputz
For Roughcast
7
Option 2
40mm
30mm
8.2
Kamera wurde erfolgreich
hinzugefügt
Kamera Name: HD-
XXXXXX
Wählen Sie ihr WLAN-Netzwerk aus
der Drop-Down Liste aus. Geben Sie
WLAN Netzwerk verwalten
Ihren WLAN Schlüssel ein und
bestätigen Sie mit OK. Die Kamera
Home
benötigt für den Verbindungsaufbau
Signalstärke 100 %
ca. 90 Sekunden.
Sicherheit: WPA2 TKIP
WLAN Passwort
Choose your Wi-Fi Network in the
drop down list. Type in your Wi-Fi
Passwort anzeigen
password and confirm with OK.
OK
Abbrechen
The camera needs around 90
seconds to establish the connection.
W-LAN
Einrichtungn
Wi-Fi Setup
6
Option 1
8.1
Werksein-
stellungen
Default
Settings
Halten Sie die Reset-Taste für
ca. 15 Sekunden mit einem
spitzen Gegenstand (z.B.
Büroklammer) gedrückt, bis
die rote LED erlischt. Die
Kamera wird zurückgesetzt
und startet neu. Die Kamera
ist nachca. 90 Sekunden
wieder im Auslieferungs-
zustand.
Hold down the reset button
for about 15 seconds using a
pointed object (e.g. a paper
clip) until the red LED light
goes off. This will reset the
camera and it will restart.
The camera will be restored
to its default settings in
approximately 90 seconds.
i
