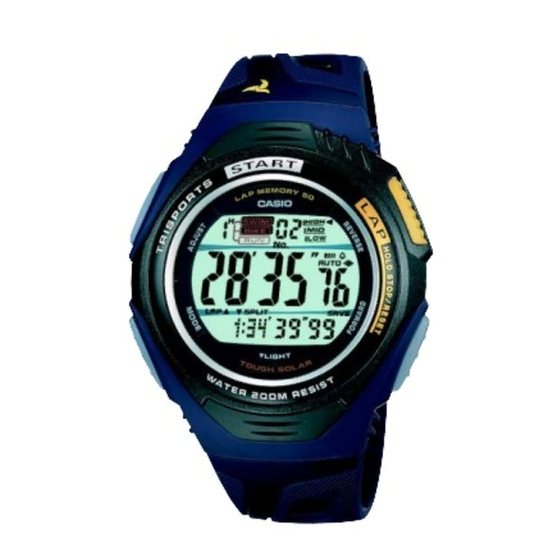
Casio STR-600 서비스 매뉴얼 및 부품 목록 - 페이지 15
{카테고리_이름} Casio STR-600에 대한 서비스 매뉴얼 및 부품 목록을 온라인으로 검색하거나 PDF를 다운로드하세요. Casio STR-600 16 페이지.
- 1. Table of Contents
- 1. 1 Specifications: Module Qw-2634
- 2. 2 Operation Chart: Module Qw-263
- 3. 3 Drawings: Module Qw-2634
- 3. Lcd Diagrams
- 3. Circuit Diagram
- 3. Checking Terminals and Components
- 4. 4 Exploded View: Module Qw-2634
- 5. 5 Parts List: Module Qw-2634
- 6. 6 Precautions for Repair: Module Qw-2634
- 6. Ac (All Clear) and Removing of Module
- 6. Accuracy Checking
- 6. Solar Cell-Pcb Ass'y Contact Checking
- 6. How to Check Tilt Sensor
6-3. SOLAR CELL-PCB ASS'Y CONTACT CHECKING
Check a Solar cell and PCB ass'y are contacted correctly by contact spring, when a module is
disassembled.
1.
To enter TEST mode.
1) While pressing E button, press A and B buttons at the normal timekeeping mode.
2.
Check a Solar cell and PCB ass'y contact in the following order.
1) Display side up and place the watch on the desk.
2) Check the display indicates as figure 2.
3) Display side down and place the watch on the desk more than two seconds.
Or go to a dark room and place the watch more than two seconds.
4) Check the display indicates as figure 3.
If "8888" is not appeared on the display, disassemble again the module and check the contact
spring between the Solar cell and PCB.
A
B
D
L
3.
To exit from TEST mode
Press any button.
6-4. HOW TO CHECK TILT SENSOR
1) Press E, B and L buttons at the normal timekeeping mode.
2) Check the display indicates as figure 4.
3) Tilt the watch towards you more than 40 degrees.
4) Check the display indicates as figure 5.
C
Press E, A and B buttons
E
Figure 1
Appear "8888" on display.
Appear "TLT" on display.
Tilt the watch towards you
more than 40°
Figure 4
— 13 —
Figure 2
Place the watch in a dark
room more than two seconds.
Figure 3
Appear "8888" on display.
More than 40°
Figure 5