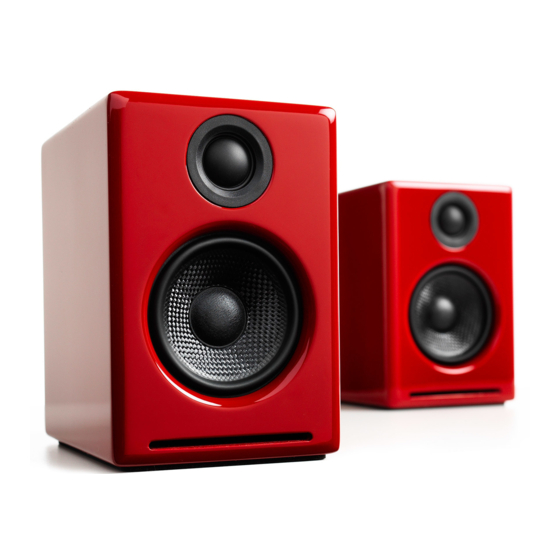
AudioEngine A2+ 설정 매뉴얼 - 페이지 5
{카테고리_이름} AudioEngine A2+에 대한 설정 매뉴얼을 온라인으로 검색하거나 PDF를 다운로드하세요. AudioEngine A2+ 11 페이지. Premium powered desktop speakers
AudioEngine A2+에 대해서도 마찬가지입니다: 설정 매뉴얼 (11 페이지), 설정 매뉴얼 (11 페이지)

Setup and Operation
Step 1
In from
Left
V06
Speaker wire connection
1. Use your thumb and finger to unscrew the connectors.
2. Insert each speaker wire into the holes on the side of
connectors.
3. Retighten the connectors with your fingers.
4. The bare portion of the wire should be secured firmly in each
connector.
Repeat the procedure to connect the other end of the speaker
wire to the other speaker. Check to make sure none of the
connector.
6
A2+ setup guide
Volume
Input
Input
Output
R
L
USB Input
Out to
Right
Power
17.5V
1.8A
Designed by Audioengine Made in China
not connect the speaker terminals to the speaker outputs of a
Step 2
INPUT:
100-240V~ 50/60Hz 1.8A
+
–
OUTPUT:
±
17.5V
2.0A
GND
Assembled in China
Power cord connection
speaker is in the OFF position by rotating it counterclockwise
until it clicks off.
1. Connect the cable from the power supply to the left speaker
rear panel.
2. Connect the power cable to the other end of the power
supply.
Volume
Input
Input
Output
R
L
USB Input
Out to
Right
Power
17.5V
1.8A
Designed by Audioengine Made in China
Power
17.5V
1.8A
7
