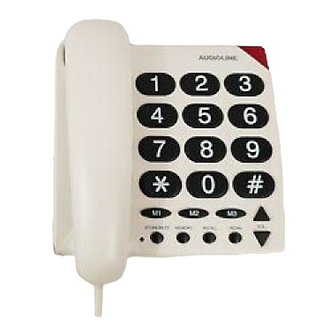
AUDIOLINE PHONE EASY 사용자 설명서 - 페이지 3
{카테고리_이름} AUDIOLINE PHONE EASY에 대한 사용자 설명서을 온라인으로 검색하거나 PDF를 다운로드하세요. AUDIOLINE PHONE EASY 9 페이지. Big button telephone
AUDIOLINE PHONE EASY에 대해서도 마찬가지입니다: 사용자 설명서 (9 페이지), 사용자 설명서 (9 페이지)

CONNECTING
# Connect the line cord to the telephone and to the telephone socket.
# Lift the handset and check for a dial tone.
WALL MOUNTING
Check for hidden cables, water pipes, etc., before drilling holes. Check that the
intended mounting point is within reach of a telephone socket.
# Mark the position of the two holes 83 mm apart, one above the other.
# Drill the holes.
# Fit the screws (not supplied) to the wall, leaving 5 mm protruding (use wall plugs if
necessary, not supplied).
# Place the telephone in position and locate the two holes on the base of the
telephone over the screws, then slide into place.
Note: When the phone is wall mounted the hanger hook (with serrated top) located on
the base directly below the circular earpiece resting point, must be removed, rotated
180 degrees (so that the lip protrudes) and replaced.
TO MAKE A CALL
P Lift the handset and wait for dial tone.
P Dial the phone number.
P Replace the handset to terminate the call.
LAST NUMBER REDIAL
To redial the number called, lift the handset and press the REDIAL button. The
number will be dialled automatically.
The number will be retained in memory until another number is dialled.
The Last Number Redial button will not operate if the number dialled was from
memory.
MUTE
To speak privately to a third party while on a call, press the MUTE button (the small
red light will flash). When you wish to resume your telephone conversation, press the
MUTE button again.
2
