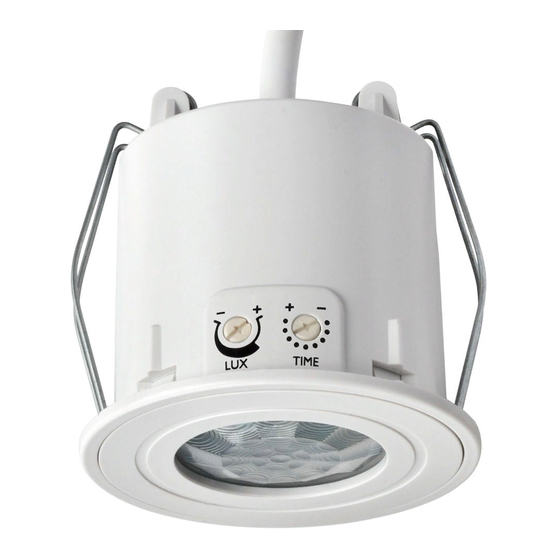
DANLERS CEFL PIR 설치 참고 사항 - 페이지 3
{카테고리_이름} DANLERS CEFL PIR에 대한 설치 참고 사항을 온라인으로 검색하거나 PDF를 다운로드하세요. DANLERS CEFL PIR 15 페이지. Ceiling flush mounted pir occupancy switch
DANLERS CEFL PIR에 대해서도 마찬가지입니다: 빠른 시작 매뉴얼 (2 페이지)

ControlZAPP is the innovative energy saving technology from DANLERS Limited for
optimising and communicating with compatible stand alone energy saving hardware
via Bluetooth Low Energy (Bluetooth Smart) enabled mobile phone or tablet.
The ControlZAPP application enables you to create personal PROFILE(S)
with personal device settings (MODES) which you can place into a
SCHEDULE (a calendar of times and dates) of when and how you wish
these MODES to occur for any ControlZAPP device or group of devices.
Once a PROFILE is configured it can be UPLOADED to your installed
ControlZAPP hardware for controlling lighting or other connected loads.
Compatible
with
ControlZAPP Profiles can only be uploaded to ControlZAPP hardware
ANDROID
by Bluetooth Low Energy (Bluetooth Smart) mobile phones or tablets
4.3 or later
(Android 4.3 or later).
Most features contained on the ControlZAPP application software may be configured OFF
SITE prior to UPLOAD to the ControlZAPP hardware. However, some features can only be
configured ON SITE when software, via the ControlZAPP application, and hardware are
connected by Bluetooth Low Energy (Bluetooth Smart).
INSTALLING THE APP(S)
The Software APPs ControlZAPP and ControlZAPP GC are
downloadable free from the DANLERS website www.danlers.co.uk
Fill in the fields in the DANLERS download webpage and click to send
to the DANLERS sales team. You will be sent an email with the current
version of the ControlZAPP software as an attachment.
-
Open your email Attachments folder. Click 'Preview' or ' Save'. 'Preview' will open a
screen with the prompt: Do you want to install....? 'New' and 'All' relate to permissions.
By pressing 'All' the list of permissions granted for installation are listed.
-
Press 'Install' - A new screen appears with confirmation that the App is Installed
with options to 'Open' the software or 'Done' to close and return to the original email
attachment page.
-
The blue ControlZAPP icon should now appear in your Applications folder. Repeat the
process to download the ControlZAPP GC Widget (red icon).
-
'Save' will transfer the file to your downloads folder. Clicking on the downloaded file will
repeat the process as above.
-
To upgrade the software repeat this process and the original file will be overwritten
whilst existing PROFILES will be retained.
-
To Uninstall ControlZAPP go to Applications Manager (usually in Settings on your
mobile / tablet) and click on the ControlZAPP icon. Follow prompts as required.
A PROFILE is the set of actions (MODES) and timings (SCHEDULE) that is UPLOADED
to the ControlZAPP hardware (device) that govern how and when that device or Group
of devices perform their actions. Although many PROFILES can be stored on your
ControlZAPP software, only one PROFILE can be UPLOADED to any one ControlZAPP
enabled device. Different PROFILES can be assigned to different ControlZAPP devices in
the same lighting circuit (or other connected load when the photocell is disabled).
When the APP is first used a default PROFILE is already configured called 'default' which
has preset MODES all of which can be reconfigured at any time to personal choice.
Please note: This 'Default' is for DALI ballasts as indicated by the icon on the blue
panel. For 1-10VDC ballasts and switching only you go to CREATE NEW PROFILE.
Creating a Profiles
-
Launch App to display home page (Diagram 3). Press 'Profiles' button. New screen
appears (see Diagram 4) with the default (DALI) as the 'PROFILE IN USE'.
-
This can be renamed to your choice by press the 'Rename' button on the bottom of
the screen. A new screen appears prompting you to 'Please choose a new name'
(Maximum 30 characters with NO spaces) then press 'OK'.
-
The new PROFILE name will now appear in a blue panel as 'PROFILE IN USE'.
Please note only the 'PROFILE IN USE' can be edited.
-
By pressing the back arrow you can return to the Home page, the PROFILE IN USE is
indicated in the upper blue panel.
PROFILES
User Guide
Diagram 1
Diagram 2
DIAGRAM 3
DIAGRAM 4
PAGE 1
