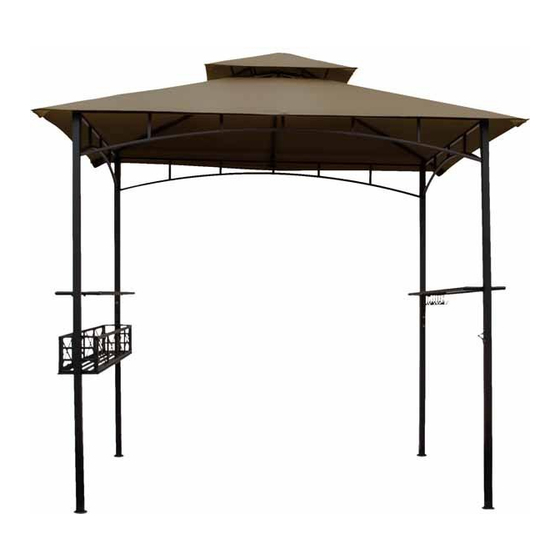
belavi GRILL GAZEBO 사용자 설명서 - 페이지 5
{카테고리_이름} belavi GRILL GAZEBO에 대한 사용자 설명서을 온라인으로 검색하거나 PDF를 다운로드하세요. belavi GRILL GAZEBO 16 페이지.

*Do not tighten bolts down completely during this portion of assembly.
E
A
C
AA
STEP 4:
Insert two M6x15mm Bolts (AA) through one end of Short Arch (E), and
into bolt-threading inserts found near the top of Pole (A), see Fig. 3.
Follow this step to connect opposite end of E to C. Follow these steps to
connect remaining E to B, and second C. When complete, both Poles (C)
should be diagonal from one another.
8
Assembly Instructions
D
E
D
C
Fig. 3
B
AA
(8) Bolt
(M6x15 mm)
*It is advised to use the upper most bolt-threading on Poles (A, B, & C)
for Shelves (F) so that they are level, use a level if necessary. The lower
two inserts will be used later in these instructions for the basket. Do
not tighten bolts down completely during this portion of assembly.
Fig. 4
AA
AA
(11) Bolt
(M6x15 mm)
Fig. 5
DD
(8) Knob Screw
P
AA
STEP 5:
Insert two M6x15mm Bolts (AA) through Shelf Brace (O), and into the bottom
of Shelf (F) at one end, see Fig. 4. Repeat this step to connect a second O to
opposite end of F. Repeat these steps to connect the remaining part O's to
second part F.
STEP 6:
Insert three M6x15mm Bolts (AA) through eyelets of Utensil Rack (P),
and into the bottom of one Shelf (F). See Fig. 5 for the correct orientation
on how this part should be installed.
STEP 7:
Insert two Knob Screws (DD) through both Shelf Braces (O) on Shelf (F)
with Utensil Rack (P), and into the upper two bolt-threading inserts
found on Poles (A & C), see Fig. 6. Repeat this step to connect the second
assembled shelf to Poles (B & C).
Assembly Instructions
O
Fig. 6
F
F
DD
9
