audiophony AMP4120 MKII 사용자 설명서 - 페이지 5
{카테고리_이름} audiophony AMP4120 MKII에 대한 사용자 설명서을 온라인으로 검색하거나 PDF를 다운로드하세요. audiophony AMP4120 MKII 10 페이지.
audiophony AMP4120 MKII에 대해서도 마찬가지입니다: 사용자 설명서 (10 페이지)

AMP480MKII/4120MKII/4240MKII - 1x480/4x120/4x240W PA amplifiers with 1 or 4 x 100V outputs
1
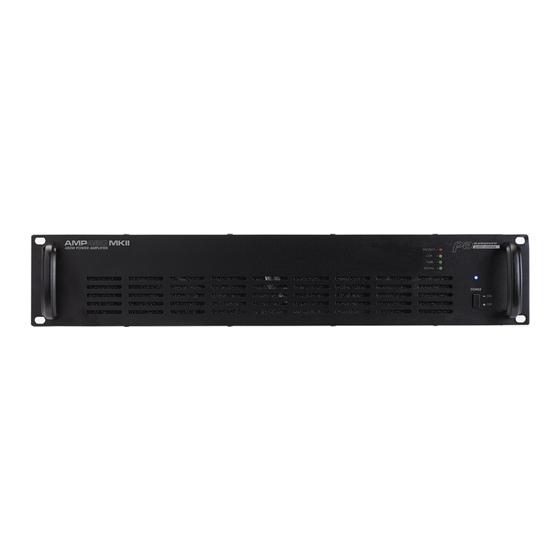
LED indicators
These LEDs indicate the current status of your device:
- SIGNAL: Indicates that an incoming signal has been
detected.
- -10 dB: Indicates that the incoming signal is within the
best range possible to get a perfect audio output.
- CLIP: Indicates that signal levels are too high.
- PROTECT: Indicates that the protection has been
activated because your device of short-circuits or
overheating.
Notes :
-The PROTECT LED usually lights up when turning on
your device.
-If the PROTECT LED remains lit, please turn off
your amplifier, wait for it to cool down, and check the
cables.
-If this LED remains lit upon activation of your device,
and the aforementioned steps have already been
tried, please ask for a qualified technician.
2
Power button
Allows you to turn you device ON/OFF.
The POWER LED is lit when your device is activated.
3
Power input with fuse
Connect here the supplied IEC cord then connect it to
the mains after making sure the voltages are compatible.
Fuse values
AMP480
T4 AL / 250V
AMP4120 MKII
T4 AL / 250V
AMP4240 MKII
T6.3AL / 250V
4
Output terminals
Connect here your speakers or ceiling speakers.
The terminals might be used differently depending on the
installation.
Please refer to next chapter for more details about each
type of installation.
5
HPF Switch
Allows you to activate or deactivate the high-pass filter.
This filter can be activated of loud noises or interferences
can be heard.
6
INPUT and LINK sockets
INPUT : Connect here a line-level source.
LINK : Allows you to send the signal to another device.
7
INPUT ADJUST control knob
Allows you to adjust the incoming signal level from -12dB
to 0dB.
English
Page 15
