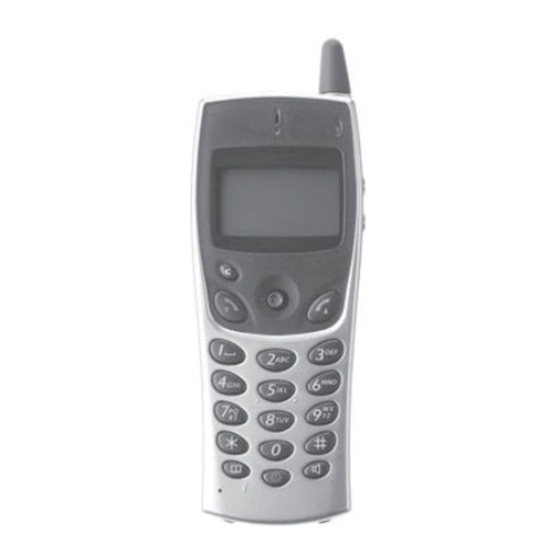
BELGACOM DDS 200 사용자 설명서 - 페이지 9
{카테고리_이름} BELGACOM DDS 200에 대한 사용자 설명서을 온라인으로 검색하거나 PDF를 다운로드하세요. BELGACOM DDS 200 10 페이지. Telephones
BELGACOM DDS 200에 대해서도 마찬가지입니다: 사용자 설명서 (19 페이지), 사용자 설명서 (19 페이지)

4
4.2
Activate the vibrator (DDS 200)
8
TUV
MARTIN Paul
Wed 24 May 16:30
Long
Vibrator activated
press
and ringer disabled
This key can be used to switch rapidly from the ringer to the vibrator
and vice-versa.
4.3
Rapid customizing of the ringer
Depending on your activity, the ringer parameters can be modified rapidly
by a short press on the
1
2
3
Switch off the
set ?
Switch off the telephone
1
Activate / disable the vibrator (DDS 200)
2
Activate / disable the ringer
3
Activate / disable meeting mode (progressive ringing)
4
Activate / disable the keypad lock
5
Validate
the chosen option.
16
8
TUV
MARTIN Paul
Wed 24 May 16:30
Long
Vibrator disabled
press
and ringer activated
key and then using the
key.
4
5
5
Accessories
5.1
Chargers
2 models of charger are available.
The "Basic Desktop" mini office charger.
The "Voice Desktop" hands-free office charger.
•
Battery charging time:
DDS 100 :
~ 2 h 30
DDS 200 :
~ 5 h 00
•
Characteristics of the mains power adapter:
Input:
230 V - 50 Hz
Output:
12 V DC - 500 mA
The mains power socket used must be close to the charger/holder
and easily accessible, so that it can be used as an "on/off" facility.
5.2
Transporting and protecting your telephone
A carrying case is available. Ask your sales representative for information.
It is vital to use the protective carrying case if your telephone is
to be used in an industrial environment (presence of dust, filings, vapours
of diverse origins and risk of being dropped).
17
