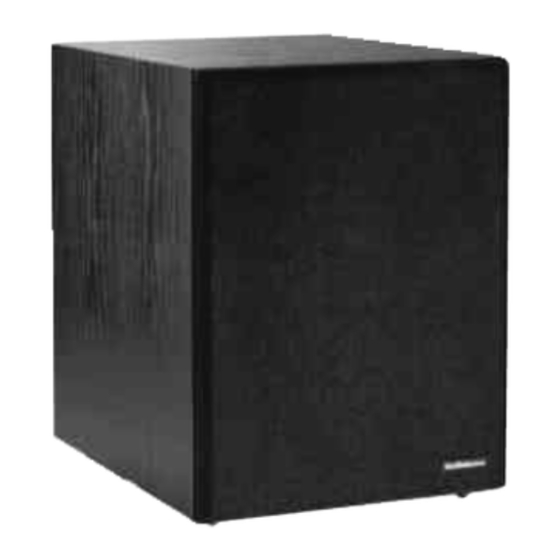
AudioSource SW Two 소유자 매뉴얼 - 페이지 4
{카테고리_이름} AudioSource SW Two에 대한 소유자 매뉴얼을 온라인으로 검색하거나 PDF를 다운로드하세요. AudioSource SW Two 10 페이지. Powered subwoofer with built-in active stereo crossover and high intensity video shielding
AudioSource SW Two에 대해서도 마찬가지입니다: 소유자 매뉴얼 (4 페이지), 소유자 매뉴얼 (4 페이지), 소유자 매뉴얼 (8 페이지)

Wireless Remote Control
Power
Mute
1
Preset
Volume
11
Next
Tuning
FM/AM
Phono
C.D.
Video 1
Tuner
Tape
Video 2
Video 3
PreAmp/Tuner Two
Using The
Power : Press this button to Turn "ON" the A.C. power to the PreAmp/Tuner
Two.
Mute : Press this button to "Mute" the volume of the system. All presets will
be remembered - including the previous system volume.
Volume : Press the top button to raise the volume of the system. Press the
bottom button to lower the volume of the system. The motorized Volume
control's red LED and automatic movement will confirm your selection.
Tuning : Press the top button to raise the frequency of the AM/FM tuner.
Press the bottom button to lower the frequency of the AM/FM tuner.
Preset #1 & #11" : Press #1 to select a Tuner preset between #1 and #9 . Press
#11 to select a Tuner preset between #11 and #19.
Next : Used alongside the "Preset #1 & #11" buttons, this button will advance
to the "Next" Tuner preset station. For instance, either #1,2,3,4, etc., or
#11,12,13,14, etc.
FM/AM : Press this button to select between AM and FM bands on the Tuner.
Phono : Press this button to select the Phonograph as your input source.
C.D. : Press this button to select the C.D player as your input source.
Tuner : Press this button to select the Tuner as your input source.
Tape : Press this button to select the Tape Recorder as your input source.
Press this button simultaneously with any other "Input Source" button to
activate the "Tape Monitor" loop, allowing the signal to travel to a graphic
equalizer or outboard processor, and return to the PreAmp/Tuner Two.
Video 1 : Press this button to select "Video 1" as your input source.
Video 2 : Press this button to select "Video 2" as your input source.
Video 3 : Press this button to select "Video 3" as your input source.
6.
