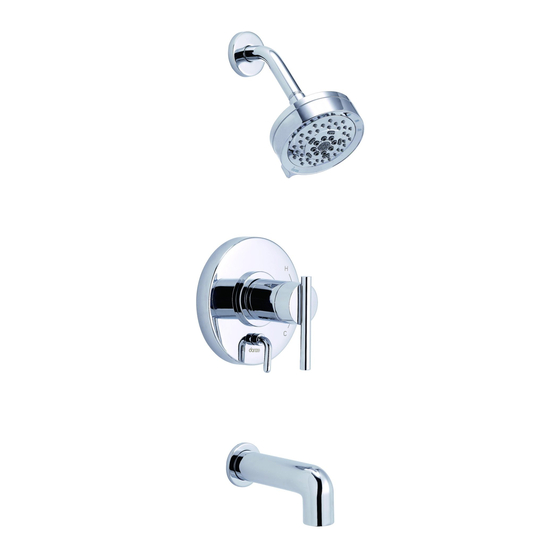
Danze Treysta D511058TC 설치 지침 매뉴얼 - 페이지 6
{카테고리_이름} Danze Treysta D511058TC에 대한 설치 지침 매뉴얼을 온라인으로 검색하거나 PDF를 다운로드하세요. Danze Treysta D511058TC 9 페이지.

A. Installation on 1/2'' Copper Pipe(5/8'' OD)
Back out the set screw in the bottom of the spout to allow the spout
to slide on the stub-out pipe. Slide the flange and the spout over the
pipe with the spout tight to the wall, tighten the set screw to the pipe.
(Fig A)
A. Installation sur un tuyau de cuivre de 1/2 po (1,3cm) (D.E. 5/8 PO -
1,6CM)
Dévisser la vis de pression au bas du bec pour permettre au bec de
glisser sur le tuyau qui dé passe. Glisser la bride et le bec sur le tuyau
en placant le bec tout contre le mur, puis serrer la vis de pression sur
le tuyau.
A. Instalación sobre tubo de cobre de 1/2'' (5/8'' diam. exterior)
Afloje el tornillo de presión debajo del vertedor del grifo. Deslice la
brida y el vertedor sobre el tubo de montaje y, apoyando el vertedor
firmemente sobre la pared, vuelva a ajustar el tornillo.
B. Threaded Installation with 1/2'' Steel or Brass Pipe (7/8'' OD)
Apply the pipe sealant tape to the nipple threads. Before installing
the spout, remove the adapter assembly (including plastic adapter,
plastic washer, and O-Ring) by backing out the set screw and pulling
out the copper tube adapter assembly. Slide the flange and the spout
over the pipe ; with the spout tight to the wall, tighten the set screw
to the pipe (Fig B-1& Fig B-2).
B. Raccorder l'installation à un raccord de tuyau de cuivre de 1/2 po
(1,2cm) - diamètre extérieur de 5/8 po (1,5cm).
Avant d'installer le bec, enlever l'ensemble d'adaptateur (comprenant
'adaptateur de plastique, la rondelle de plastique et le joint torique)
en dévissant la vis de pression et en sortant l'ensemble d'adaptateur
de tuyau de cuivre. Glisser la bride et le bec sur le tuyau en placant le
bec tout contre le mur, puis serrer la vis de pression sur le tuyau.
B. Installation filetée avec un tuyau d'acier ou de laiton de 1/2 po
(1,2cm)- diamètre extérieur de 7/8 po (2.22cm)
Antes de instalar el grifo, remueva el ensamblaje del adaptador, que
incluye el adaptador y arandela de plástico, y la argolla-O, aflojando
el tornillo de presión. Deslice la brida y el vertedor del grifo sobre el
tubo de montaje, y apoyando el vertedor firmemente sobre la pared,
vuelva a ajustar el tornillo.
Maintenance
Your new faucet is designed for years of trouble-free performance. Keep it looking new by cleaning it periodically
with a soft cloth. Avoid abrasive cleaners, steel wool and harsh chemicals as these will dull the finish and void your warranty.
Warranty Registration:
Please log on to gerber-us.com to register your product today.
A
B-1
B-2
