DAP Technology FireSpy 3200 빠른 시작 매뉴얼 - 페이지 6
{카테고리_이름} DAP Technology FireSpy 3200에 대한 빠른 시작 매뉴얼을 온라인으로 검색하거나 PDF를 다운로드하세요. DAP Technology FireSpy 3200 19 페이지. 1394 analyzer
Hardware
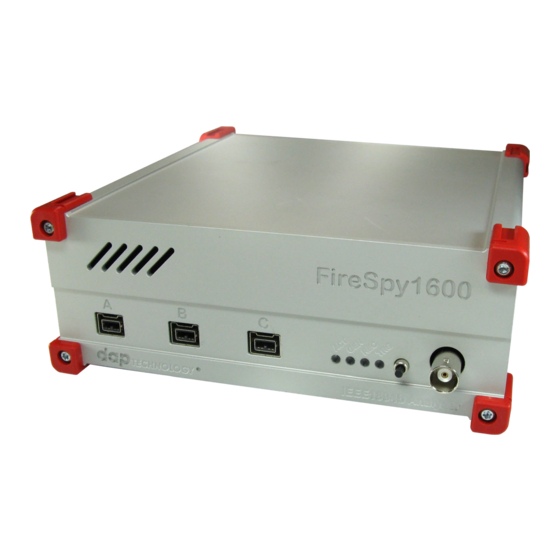
1.1.3.2. FireSpy Rear
External PCIe 4x Connector
The FireSpy must be connected to the computer using this connector. A PCIe 4x cable, which is part of
the FireSpy-package, is connected between this connector and the PCI Express External Adapter card
installed in the computer.
Power Connector
Connect only the original power supply to this connector.
Auxiliary Connector
The auxiliary port will be discussed in a separate chapter. See Auxiliary connector ports.
Power Switch
Using this switch the FireSpy can be switched on (powered) and off. When turned on, the FPGA is
configured from flash. This takes +/- 1 second.
Serial Number (on the bottom)
Each FireSpy has an 11 character serial number. This number is also programmed into the FireSpy and
can be read with the License Manager of the FireSpy application. Part of the software will only work when
license keys are installed for the serial number of the currently connected FireSpy. See License Manager
for more information on license keys.
6
Copyright © DapTechnology B.V., 2005-2019 - All Rights Reserved., 5/20/2019