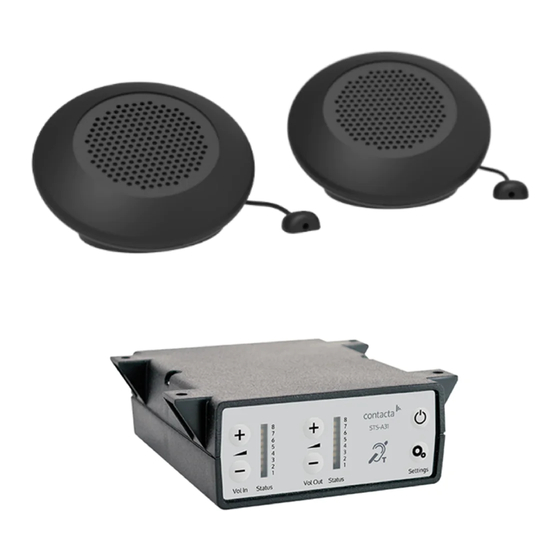
Contacta STS-K070 설치 및 사용 설명서 - 페이지 14
{카테고리_이름} Contacta STS-K070에 대한 설치 및 사용 설명서을 온라인으로 검색하거나 PDF를 다운로드하세요. Contacta STS-K070 16 페이지. Speaker pod system
Contacta STS-K070에 대해서도 마찬가지입니다: 설치 및 사용 설명서 (20 페이지)

1.
Ensure the customer and staff volumes are turned completely down.
2. Adjust staff (Volume In) volume to a comfortable level. Press and hold
the Volume In (+) or (-) buttons to increase or decrease the level. The
corresponding LED bar will show the volume setting.
3. Increase customer (Volume Out) volume until feedback is heard. Press
and hold the Volume Out (+) or (-) buttons to increase or decrease the
level. The corresponding LED bar will show the volume setting.
4. Decrease customer (Volume Out) volume until feedback is eliminated.
Setup Area 2 allows you to adjust the Ducking level or to turn it on/off.
The ducking function is provided to reduce feedback on a window intercom
system. Feedback occurs when the overall setting of both volume controls
is too high. The ducking system works by detecting which microphone in the
conversation is being used, and temporarily reducing the volume setting.
Increase
ducking level
Decrease
ducking level
Setup Area 3 allows you to adjust the Hearing Loop Drive or to turn it on/off.
Hearing loops improve communication by enabling hearing device users to
hear sound sources directly, cutting out background noise.
Increase drive
Decrease drive
The drive levels should be adjusted so the red LED 8 is illuminated only when
there are peaks in the speech volume.
If the amplifier does not have a loop attached, turn the Hearing Loop Drive off
as indicated in the diagram above.
14
Ducking Adjustment (LED 2 flashes)
Hearing Loop Drive Adjustment (LED 3 flashes)
Setup Area 2:
Setup Area 3:
Ducking on
Ducking off
Hearing Loop Drive on
Hearing Loop Drive off
