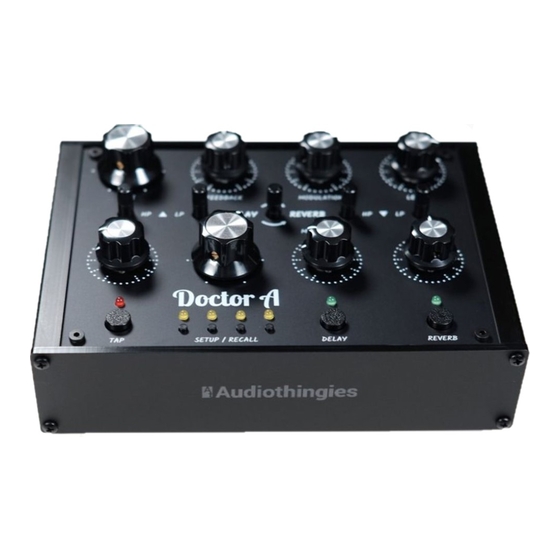
Audiothingies Doctor A 수동 부록
{카테고리_이름} Audiothingies Doctor A에 대한 수동 부록을 온라인으로 검색하거나 PDF를 다운로드하세요. Audiothingies Doctor A 3 페이지.
Audiothingies Doctor A에 대해서도 마찬가지입니다: 빠른 시작 매뉴얼 (4 페이지)

Audiothingies
MANUAL ADDENDUM V1.1
Congratulations and thanks for purchasing
This file is an addendum to the quick start manual originally shipped with your
It describes features added with firmware updates
Firmware update requirements
To update your
, you will need:
1 – The firmware file itself (a SYSEX file *.syx)
2 – A computer running a software capable of sending SYSEX files
On Windows, we recommend Bome SendSX (https://www.bome.com/products/sendsx) and on
Mac OS, we recommend Snoize Sysex Librarian (https://www.snoize.com/SysExLibrarian/)
3 – A USB MIDI interface and a standard MIDI cable
Updating the firmware
1 – Connect your MIDI cable from the MIDI interface's MIDI output port to
's MIDI
input port
2 – Start your computer, your SYSEX management software and load the SYSEX file
3 – Power
while pressing DELAY + REVERB until the 2 corresponding LEDs are
turned ON
4 – Send the SYSEX file, TAP LED should turn ON immediately and the 4 SETUP LEDs will
turn ON alternatively to show that the SYSEX file is being received and processed
5 – At the end of the transfer, all LEDs will blink and
will restart
NB: it may be unresponsive for a couple seconds, formating and writing factory stuff to memory
if needed
Troubleshooting
Some USB MIDI interfaces behave weirdly with long SYSEX commands such as the
firmware file and won't complete the update letting Doctor A in a "dead" state. If this occurs, just
restart the whole procedure, and reduce the MIDI sending speed / buffer size in your software.
This is not a
or software problem, but really a USB MIDI interface issue.
